
There are many secrets, features, and magic that are kept in MS Word. These tips and tricks in word help you make your document work faster and easier.
So, there is no doubt that you don’t know all these secrets. I challenge you. You may be aware of some of these, but not all of them. I hope you must read this Magical Shortcut Keys and Hidden Secrets from scratch to the end to get a clear idea.
Table of Contents
Video tutorial on Magical and Hidden Secrets in MS Word
Getting Started with Magical and Hidden Secrets
Secrets to Insert Different Lines:
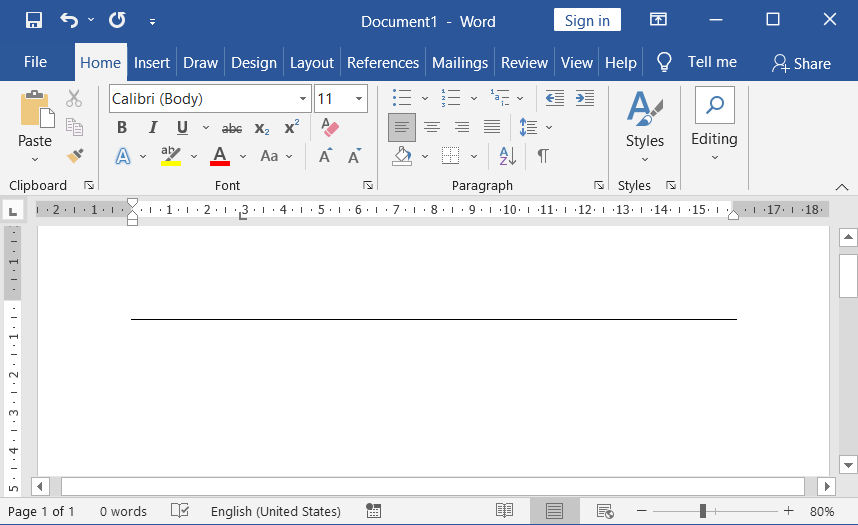
→ Press minus key more than 3 times (– – -), then press Enter to get a thin straight line as given below.
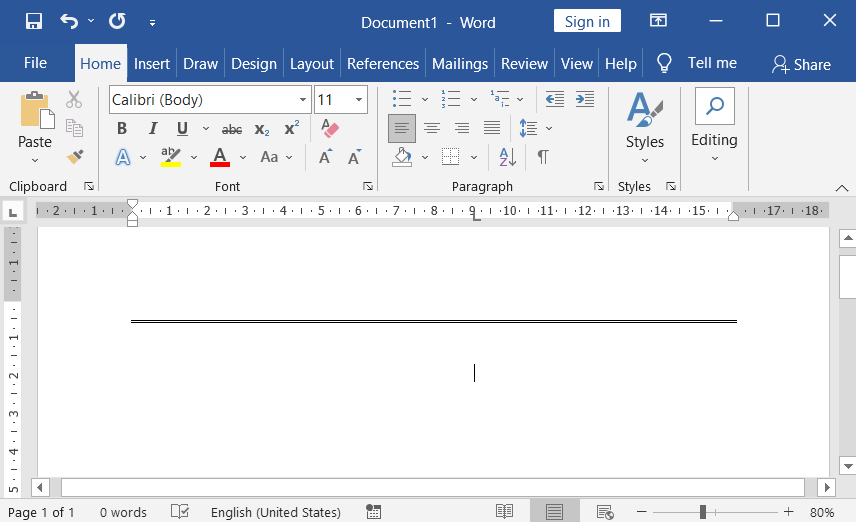
→ Press and hold down the Shift key and press minus key more than 3 times (– – – ), then press Enter to get a thick straight line as given below.

Press the = key more than 3 times (=== ), then press Enter to Draw a thin double line.
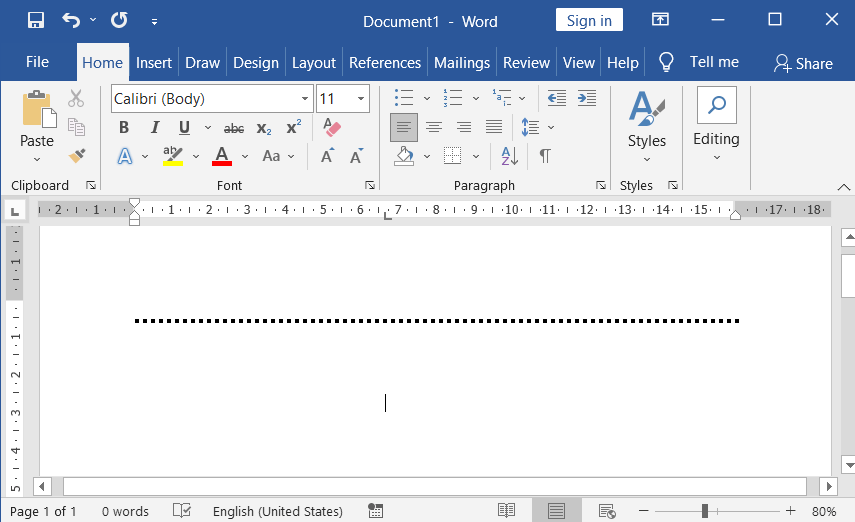
Press the * key more than 3 times (*** ), then hit Enter to draw a dotted line.
To Draw a Straight Curved Line Using Shortcut Key, press and hold down the Shift key and press the ~ key more than 3 times (~~~), then press Enter.

To draw a thick straight line between the thin lines, Press and hold down the Shift key and press the # key more than 3 times (### ), then press Enter.

Tricks to Create a Numbered and Bulleted List:
There are many ways to create a numbered and bulleted list in a Word document. But, in these magical shortcuts and hidden secrets, creating a numbered and bulleted list is a very simple task to create. Carefully, follow the list given below.
Type the number beginning number (1) followed by a dot (.) and press the Space bar, then type something you want, and then strike the Enter key to create a numbered list. If you do this as many times as you want, you can create a number list as given below.
1. MBA
2. MCA
3. M-Tech
Type the letter A followed by a dot (.) and press Spacebar, then type something you want, and then strike the Enter key, do like this as much as you want.
A. MBA
B. M-Tech
C. MCA
Type the letter a. and press the Space bar, then type something you want to create a number list, and then strike the Enter key, do like this as much as you want.
a. MBA
b. M-Tech
c. MCA
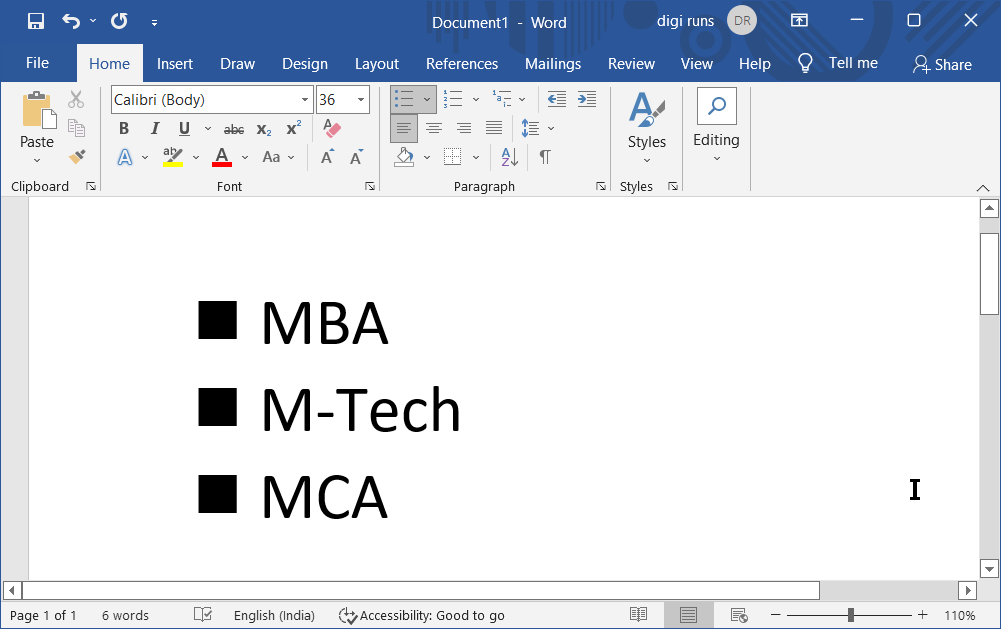
Press * and press the Space bar, then type something you want to create a bulleted list, and then strike the Enter key, do like this as much as you want.
· MBA
· M-Tech
· MCA
Press – and press the Space bar, then type something you want to create a bulleted list, and then strike the Enter key, do like this as much as you want.
– MBA
– M-Tech
– MCA
Press – – and press the Space bar, then type something you want to create a bulleted list, and then strike the Enter key, do this as many times as you want.
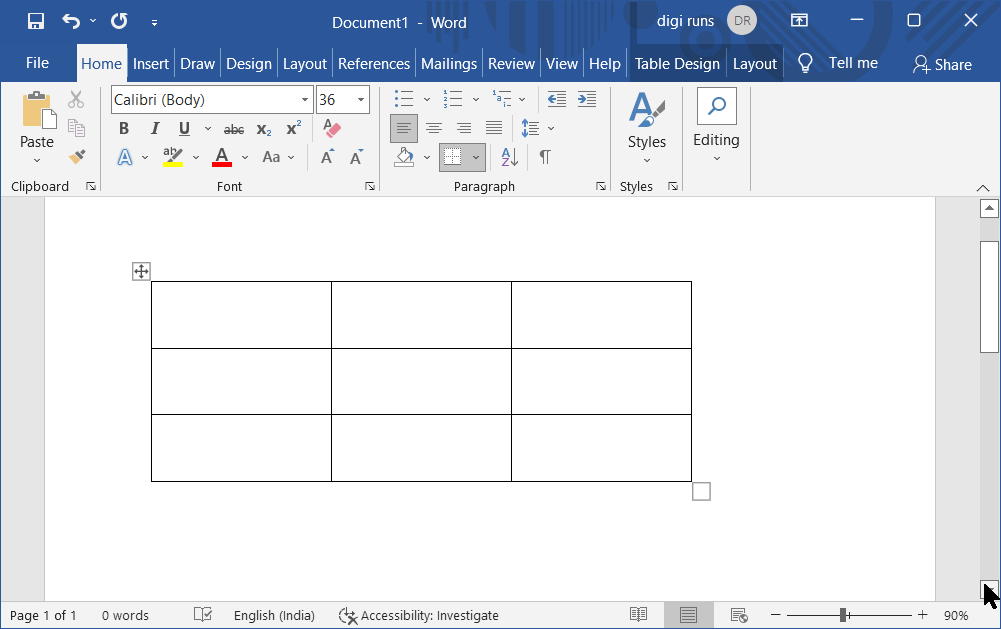
Tricks to Insert a Table:
Press +—+—-+———-+ or press + + + + as much as you want, then strike the Enter key to insert a table, If you would like to insert more rows, position your cursor at the last column, and then press the Tab key.
Note: Table width is based upon the number of – (minus) signs or spaces between the + signs.
Inserting Copyright and registration Symbols:
→ Ctrl + Alt + C
(or)
→ Press and hold down the Shift key, then press ( C and again press and hold down the Shift key, and then press )
→ Ctrl + Alt + R
(or)
→ Press and hold down the Shift key, then press ( R and again press and hold down the Shift key, and then press )
Inserting Smiley ad Sad Symbols:
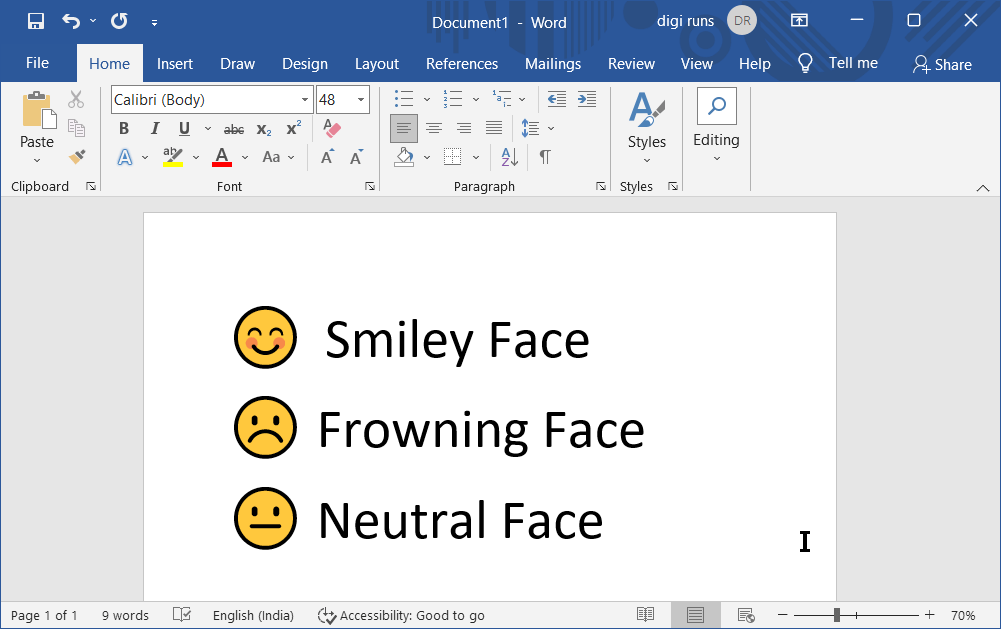
To insert a smiley face as in the screenshot above, press and hold down the Shift key, then press : (
To insert a frowning face as in the screenshot above, press and hold down the Shift key, then press : )
To insert a neutral face as in the screenshot above, press and hold down the Shift key, then press \
Secrets to Insert Arrow Symbols:
Press and hold down the Shift key and press > (less than) key, after that release these keys, and then press – – (press minus key two times) to get the left arrow (Like the first arrow in the screenshot above).
Press – – (press minus key two times) and press and hold down the Shift key, then press < (greater than) to get the right arrow (Like the second arrow in the screenshot above).
Press and hold down the Shift key and press > key, then release the Shift key, and then press == to get the left thick arrow (Like the third arrow in the screenshot above).
Press = = (press the equal key two times) and press and hold down the Shift key, then press < (greater than) to get the right thick arrow (Like the fourth arrow in the screenshot below).
Press Shift + <, then press =, and then Press Shift + > to get the double-headed arrow (Like the fifth arrow in the screenshot above).
Magic to Insert All other Symbols:
Press Alt +1 (1 on the numeric keyboard) to get the smile emoji as below.
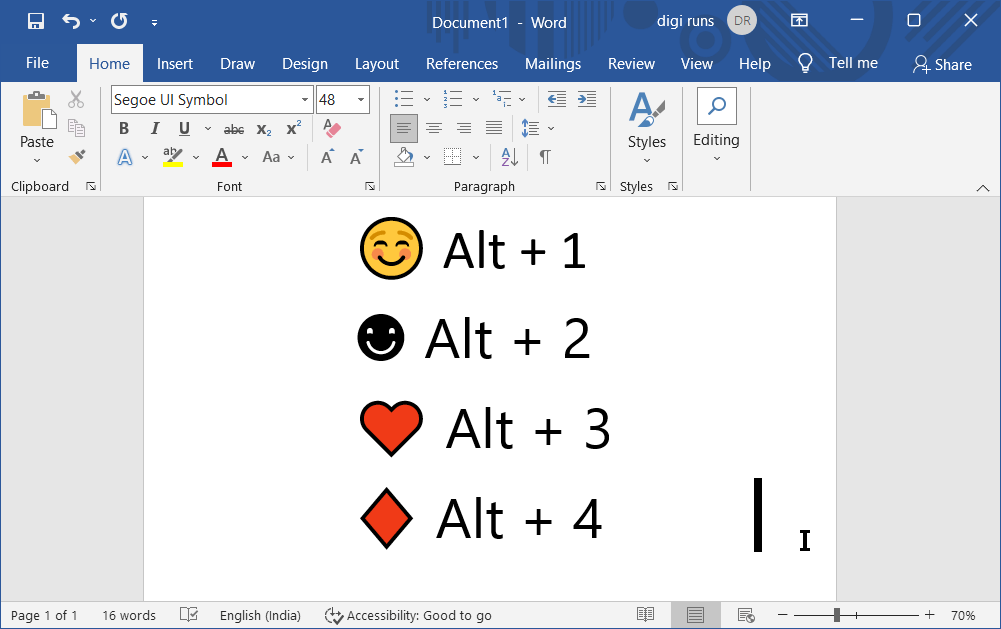
Press Alt + 2 (2 on the numeric keyboard) to get the smile emoji as above.
Press Alt + 3 (3 on the numeric keyboard) to get the heart emoji as above.
Press Alt and 4 ( on the numeric keyboard) to get the diamond emoji as above.
Press Alt+5, Alt+6, Alt+7, and so on to get more results.
Tips and Tricks to Insert Arrow Keys:
There are many ways to insert arrow directions in a word document. But, in these magical shortcuts and hidden secrets, inserting an arrow is very simple. Simply, follow the list given below.
Press Alt + 24 (on the numeric keyboard) to get the up arrow as below.
↑
Press Alt + 25 (on the numeric keyboard) to get the down arrow as below.
↓
Press Alt + 26 (on the numeric keyboard) to get the right arrow as below.
→
Press Alt + 27 (on the numeric keyboard) to get the left arrow as below.
←
For more symbols, Press Alt and 1, Alt and 2, Alt and 3, Alt and 4, Alt and 5, 6, 7, 8, 9, 10 or 11…etc. on the numeric keyboard at a time.
Are there any hidden secrets, magics, and tips and tricks in MS Word?
Yes, there are many secrets, features, and magics that are kept in MS Word. These tips and tricks in word help you make your document work faster and easier. So, there is no doubt that you don’t know all these secrets.
Is it possible to hide text within a document?
Yes, you can hide text by selecting it, right-clicking, and choosing “Font.” Then, tick the “Hidden” checkbox.
Are there shortcuts to apply formatting quickly?
Absolutely, you can use Ctrl + Shift + > or < to increase/decrease font size in small increments.
How can I customize the Ribbon to my needs?
Right-click the Ribbon and choose “Customize the Ribbon” to add, remove, or rearrange commands as per your preference.
How can I remove personal information from a document?
Use the “Inspect Document” feature under “File” > “Info” to check and remove sensitive information before sharing.