
Inserting a picture into the header makes it easier to relate to the content of the document. To insert pictures into a header in Word and Excel, follow the four methods below:
Table of Contents
Method 1: Insert Pictures into a Header in Word:
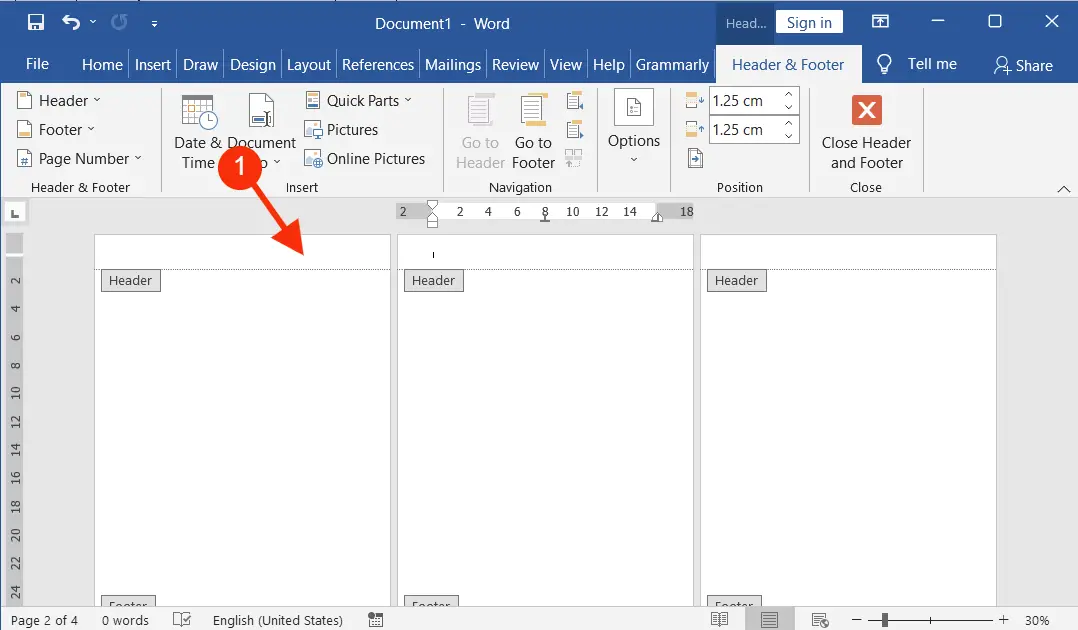
Double-tap or click on the top of a page to open the header and footer tools design tab.
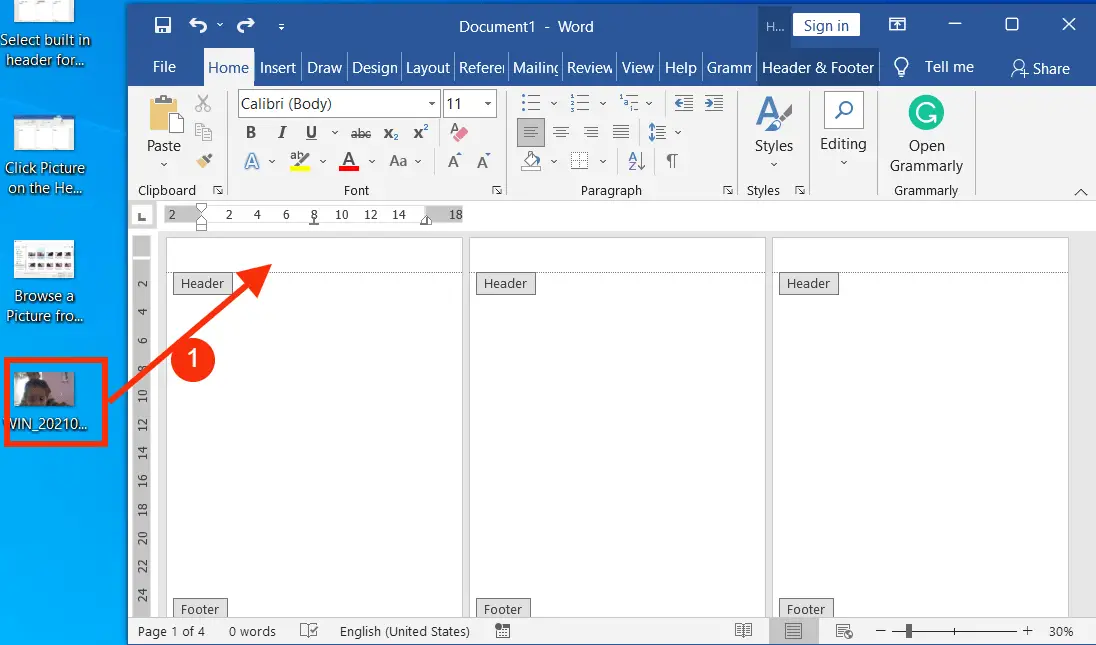
Drag a picture from your computer and drop it into the header or footer.
Method 2: Add Images to a Header:
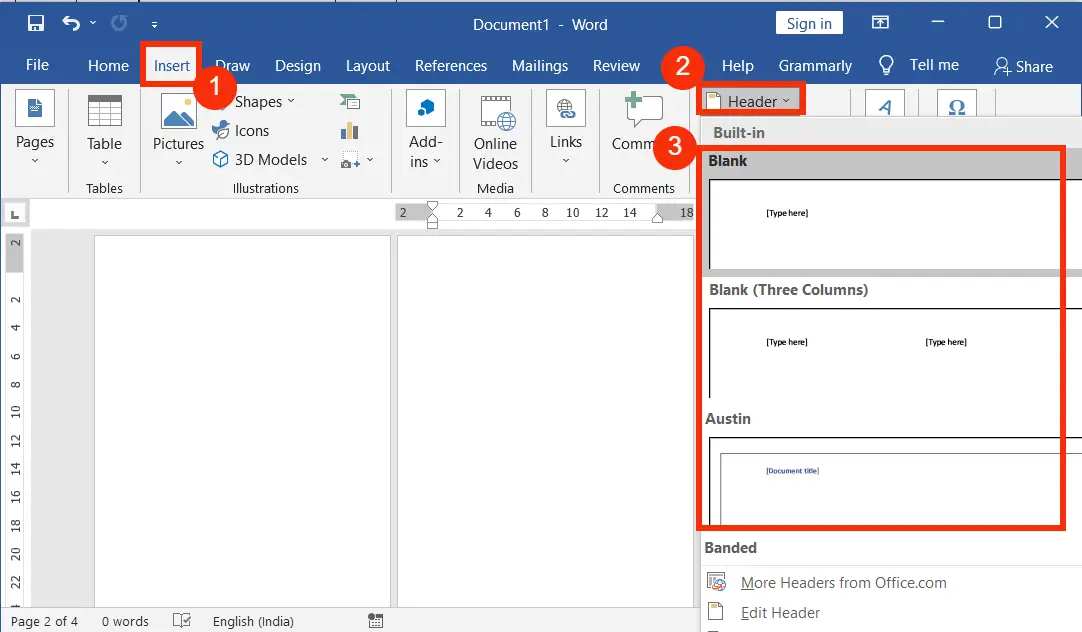
Or on the Insert tab, click the drop-down arrow of the Header and select any one style, then select the pre-formatted header style and remove it.
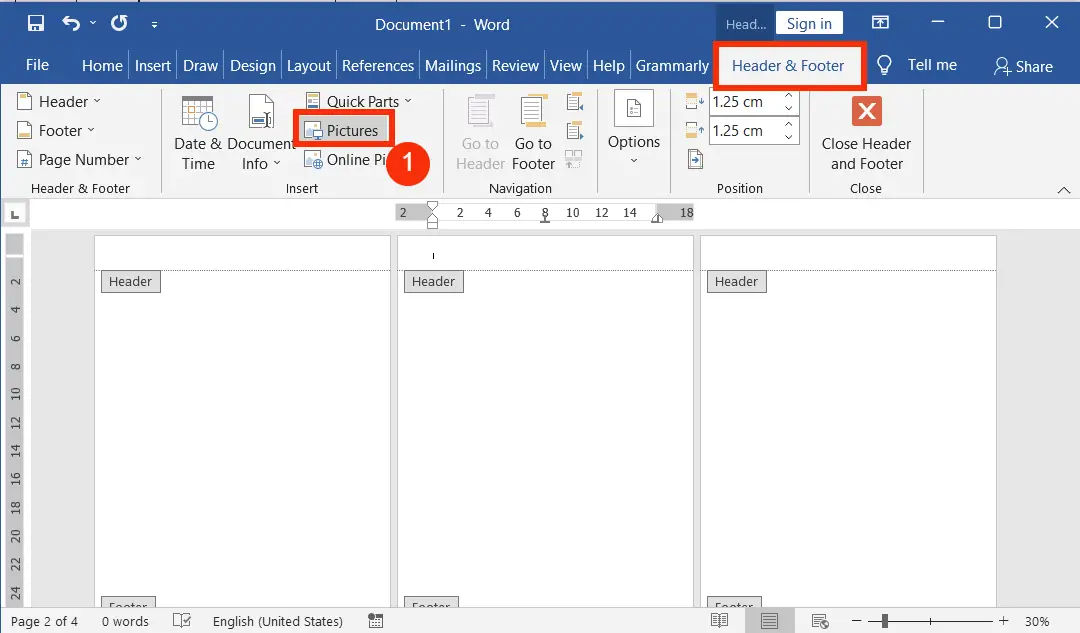
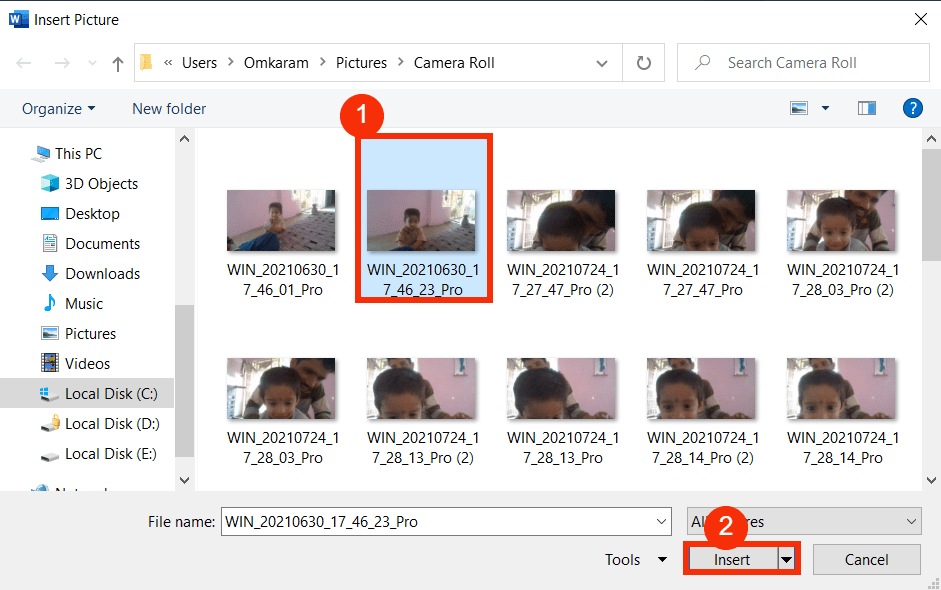
Now on the “Header and Footer” tools tab, in the “Insert” group, click “Pictures” to open a picture browse screen.
Using the picture browse screen, browse for any picture you want and insert it.
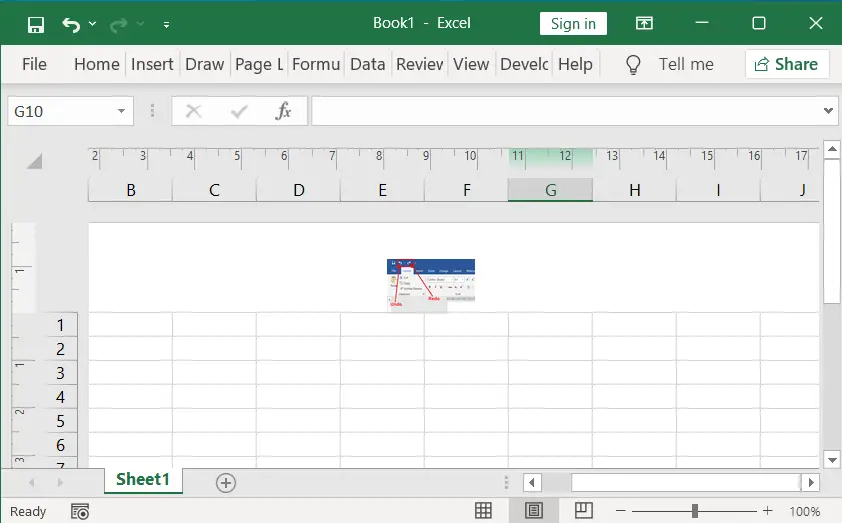
Positioning a Header Image:
After inserting the picture, shrink the image size to fit the original height of the Header.
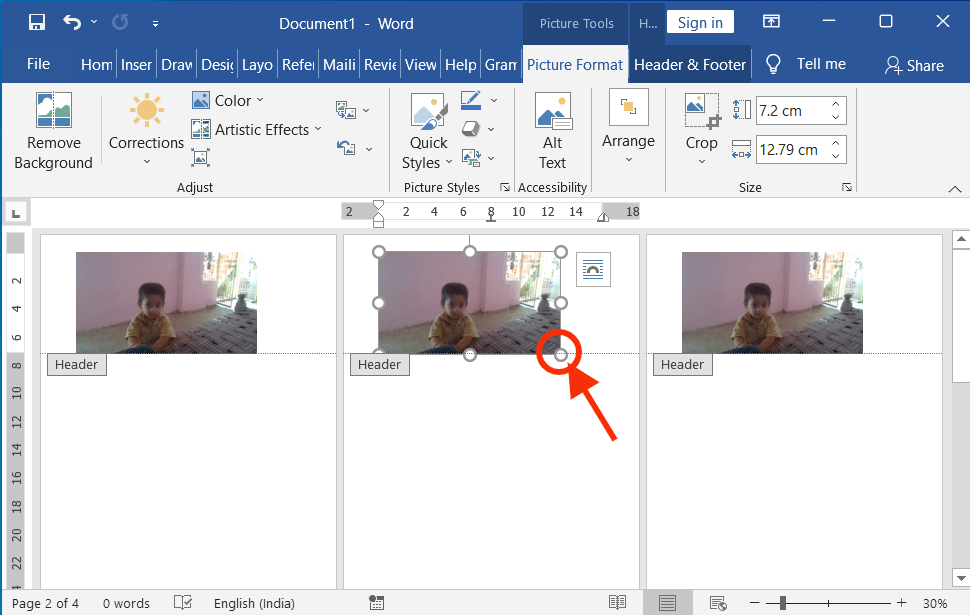
To position a picture, click the “Layout Options” icon, which is on the top right side of the image
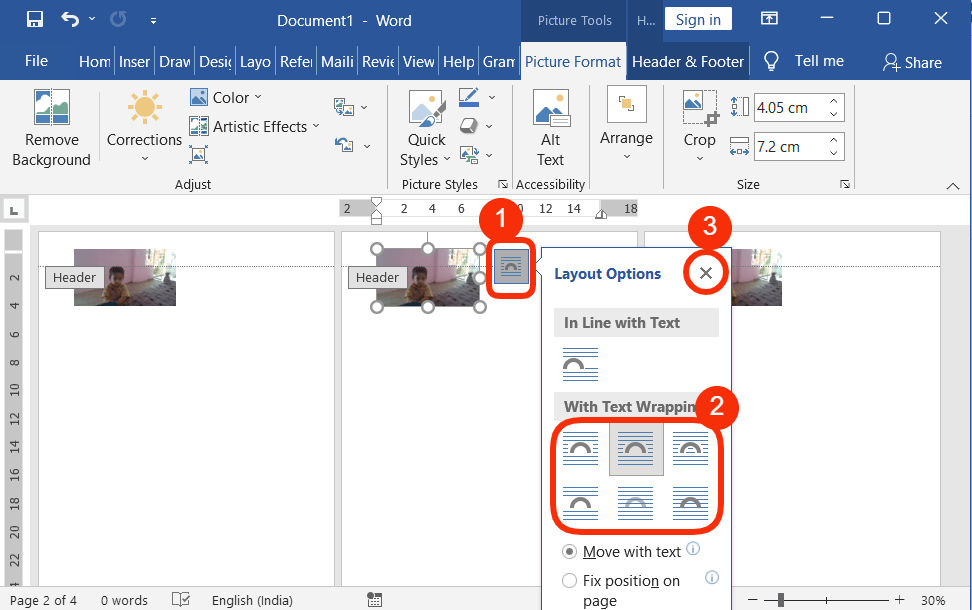
Under “With text wrapping,” select one of the options and close the image “Layout Options.”
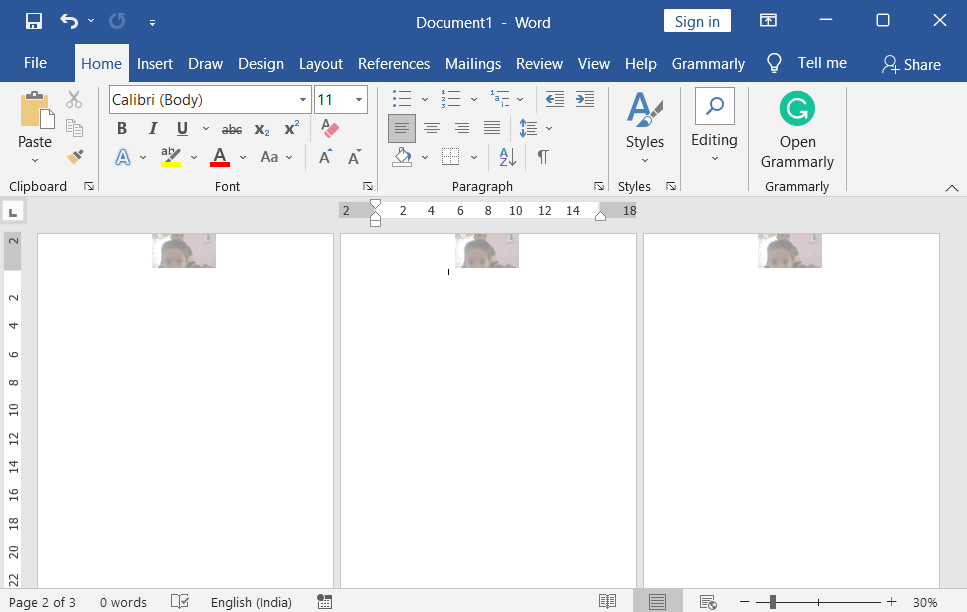
Now move the image anywhere you want in the header.
Lastly, double-click within the page or click “Header & Footer” Tools, and then click “Close Header and Footer”.
Method 1: How to Insert Images into a Header in Excel:
On the “Insert” tab, click “Text” and select “Header and Footer” in Microsoft Excel
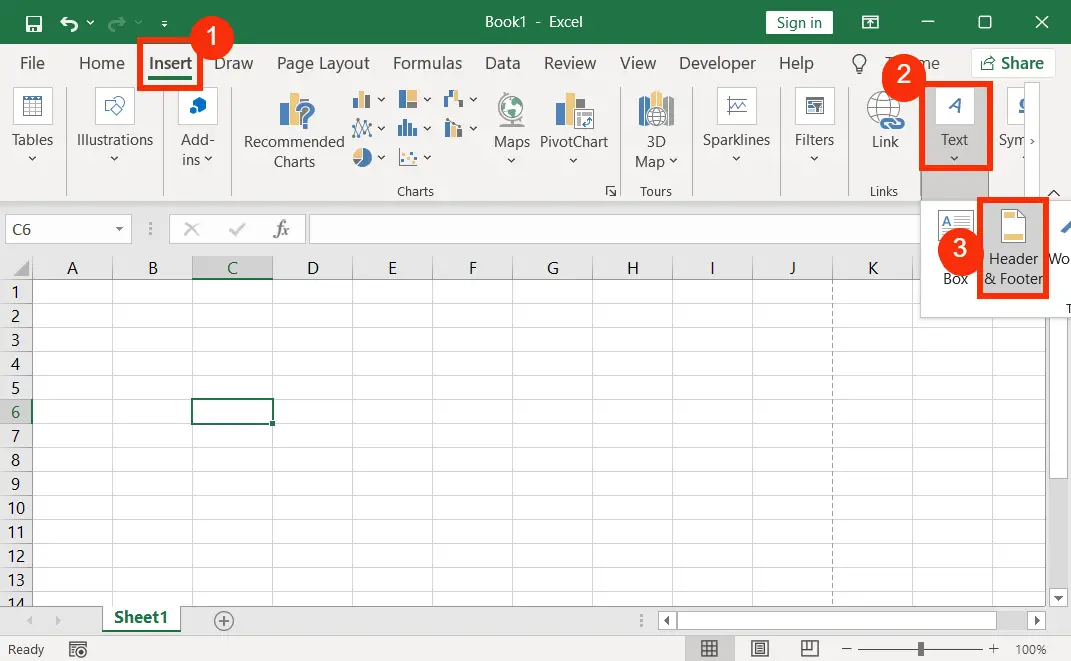
On the “Header & Footer” tools, in the “Header & Footer Elements” group, click the “Picture”
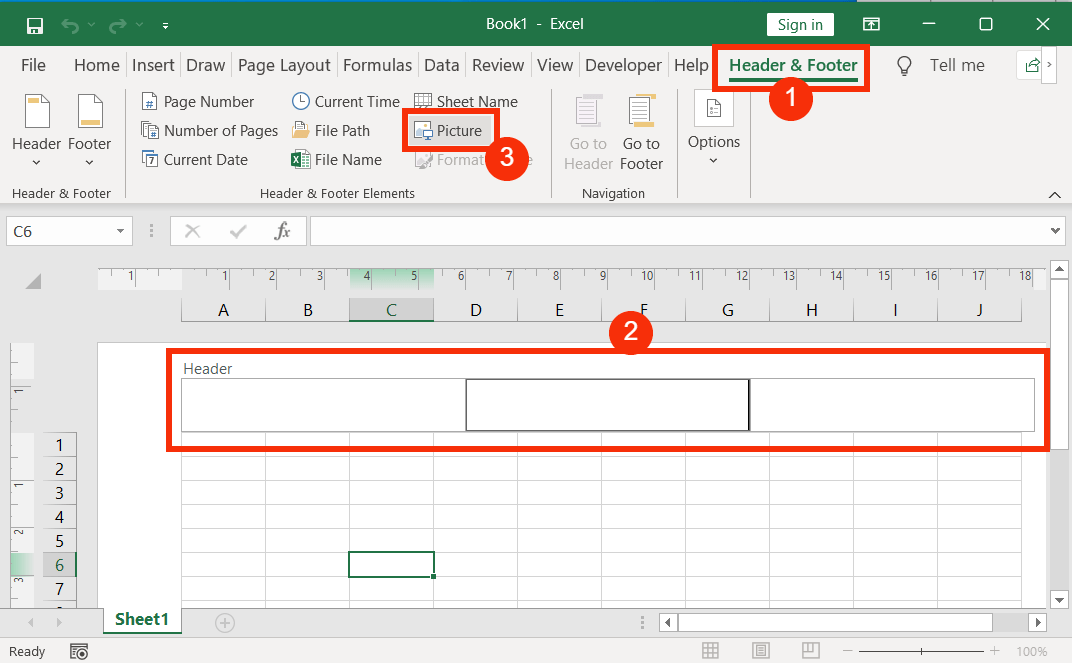
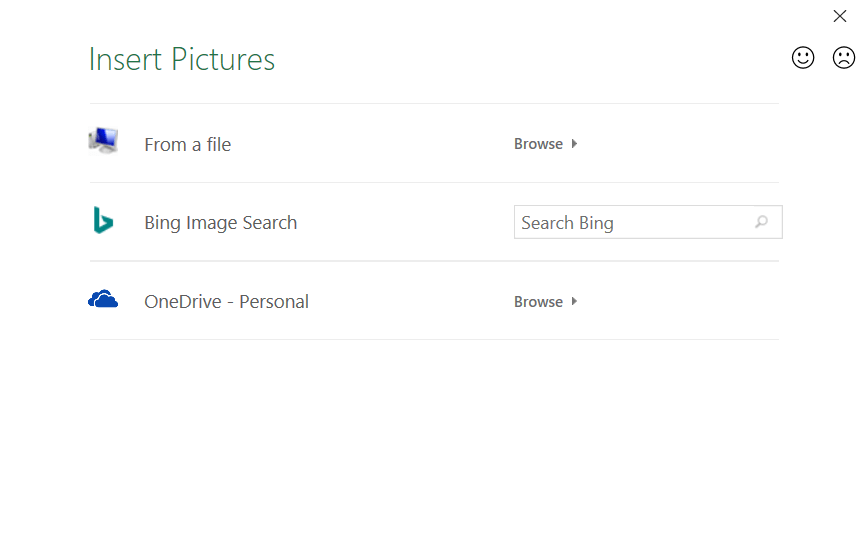
Now select one of the options on the “Insert Pictures” dialogue box, and then search for, select, and insert the picture you want.
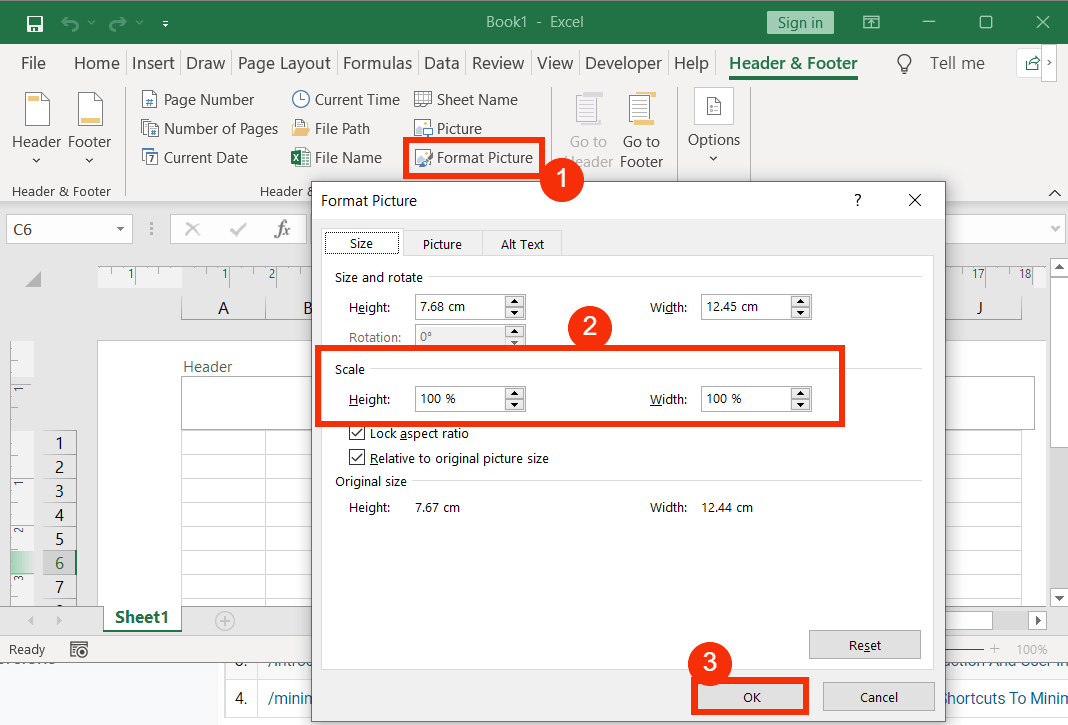
After the above step, to resize a picture to fit the default header height, click “Picture Format”, then scale the height and width accordingly, and then click “OK”.
To see if the picture fits in the header or footer, uncheck the header and click somewhere on the sheet.
Method 2: How to Insert Pictures into a Header in Excel:
Click on the “View” tab, and then click “Page Layout” in the “Workbook Views” group.
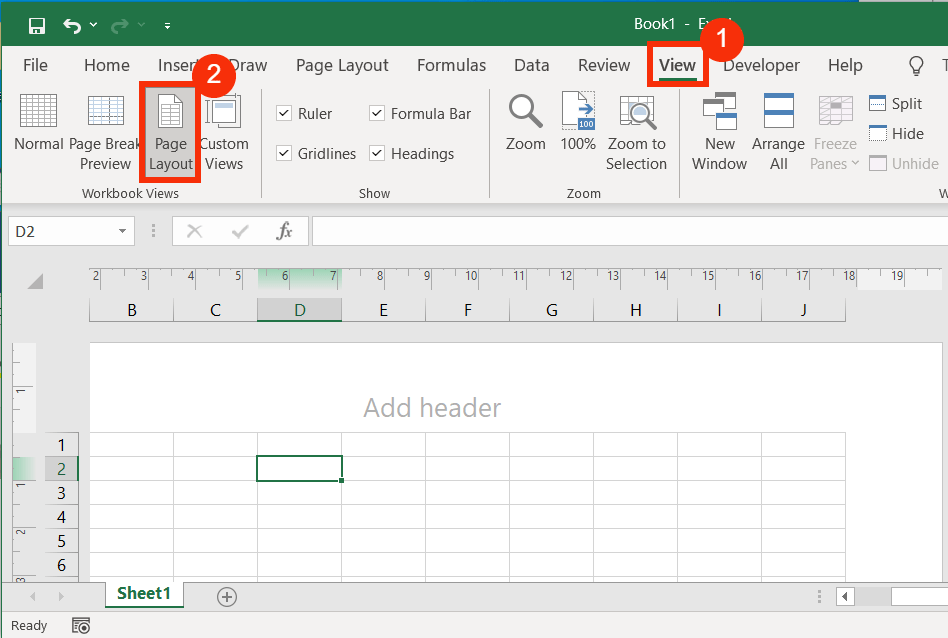
Then click one of the header or footer parts from the left, center, or right.
On the “Header & Footer” tools, in the “Header & Footer Elements” group, click the “Picture”
Now select one of the options on the “Insert Pictures” dialogue box, and then search for, select, and insert a picture you want.
After the above step, to resize a picture to fit the default header height, click “Picture Format”, then scale the height and width accordingly, and then click “OK”.
To see if the picture fits in the header or footer, uncheck the header and click somewhere on the sheet.
How to Insert Pictures into a Header in Word
1. Double-tab or click on the top of a page to open the header and footer tools design tab.
2. Drag a picture from your computer and drop it into the header or footer.
Can you explain how to include pictures in a header for Word and Excel?
In Word, navigate to “Insert,” select “Header,” and then “Pictures.” In Excel, access “Page Layout,” choose “Header & Footer,” and click “Insert Picture.”
Can you guide me through inserting images in the header?
In Word, click “Insert,” pick “Header,” select “Pictures,” choose the image, and adjust its appearance.
What’s the method for adding pictures to a header?
In Word, click “Insert,” select “Header,” click “Pictures,” choose your image, and adjust its position and size.