
WordPress Image Optimization plugins can greatly increase the speed of your web page. There are many plugins and tools to optimize, only a few of which will give us the expected results.
However, in this article, you will learn optimization guides of the best free paid tools and plugins for WebP image converters.
Table of Contents
Free – WordPress Image Optimization Plugin -reSmush.it
reSmush.it is one of the best image compressor plugins. This pro plugin is available for free. Even if there are other best plugins on the market, you have to spend some money on them. But there is no doubt that this plugin is easier than theirs and does image optimization on par with them.
This Image Optimization plugin will reduce your image size by up to 50% without changing the quality of the image by default settings. This means that the load on the server is reduced. Not only this, but it can also reduce the huge server load by reducing more than 50% of the image size by changing the default value settings.
How to Compress Images:
After installing and activating the plugin, click the settings of the plugin to customize the options.
Settings:
Please keep the default settings as it was except for data preservation options. If you are a developer, then use all the settings carefully that are described below.
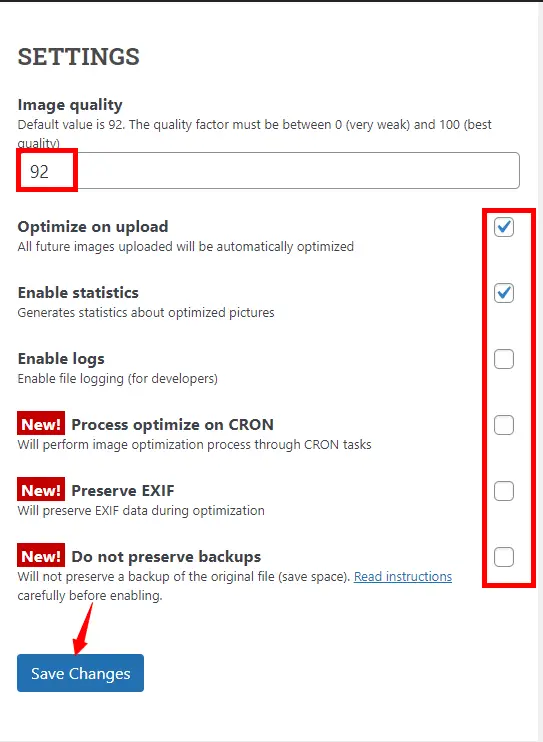
Optimize on Upload:
By default, this option is already enabled. If you keep it as it was, the uploaded images will be automatically compressed. Otherwise uploaded image sizes will not be reduced.
Enable Statistics:
By default, this option is also already enabled. If you keep it as it was when you compress images, it generates statistics about optimized images. If you disable this option, it doesn’t show statistical data.
Enable Logs:
If you are a developer, then enable this option for log file information, otherwise don’t.
Process Optimize on CRON:
Images will optimize through CRON job tasks automatically in the background without affecting the user experience. We advise you to disable the “Process optimize on CRON”. Enable after correct setup. To correctly configure Cronjobs, please read the instructions carefully by following the “Instruction page“.
Preserve EXIF:
If you enable this option, EXIF data will be removed from the images and also preserves if needed.
Enable or Disable the “Don’t Preserve Backups” Option:
If you don’t want to save backups of the pictures, enable this option. Otherwise don’t.
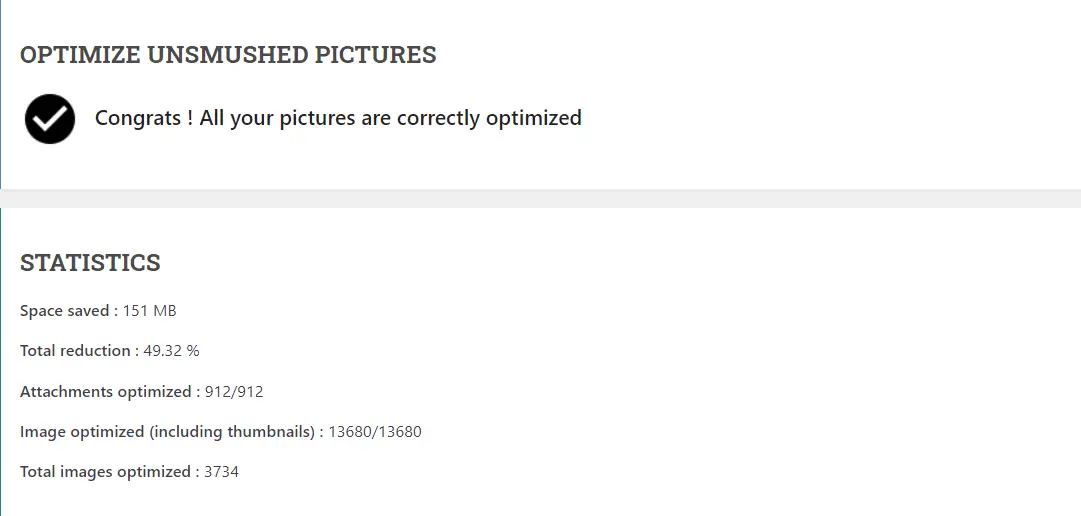
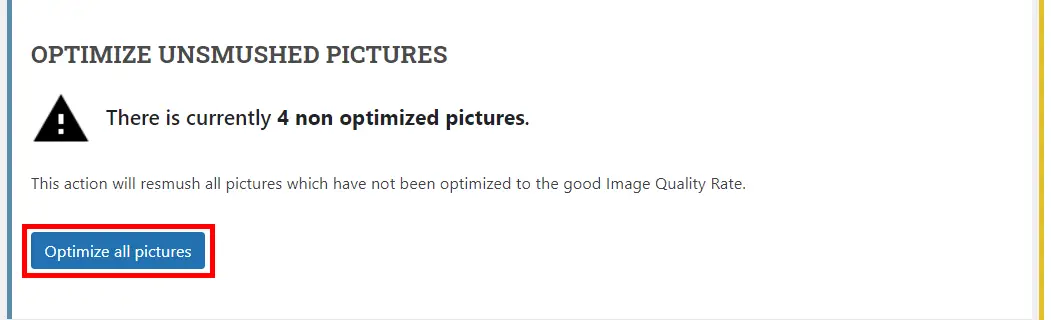
Saving the Changes and Start Optimizing Bulk Images:
After setting the above options, click”Save Changes“, and then
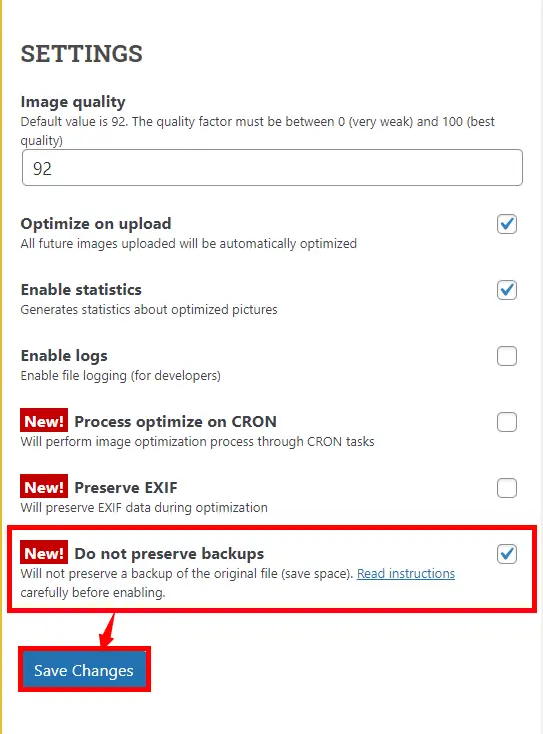
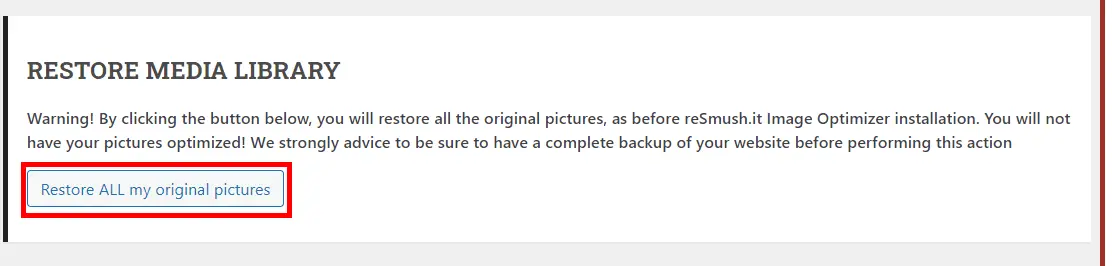
Restore Original Media Library:
If you want to restore all of the original images, use the option “Restore All my original pictures” after enabling the “Don’t preserve backups” option as in the screenshot below. Doing so will be replaced the existing converted picture. We strongly recommend that you back up your website before taking this step. You will not be able to retrieve the website with the previous optimized image unless you have backed it up. So be careful.
WebP Converter for Media:
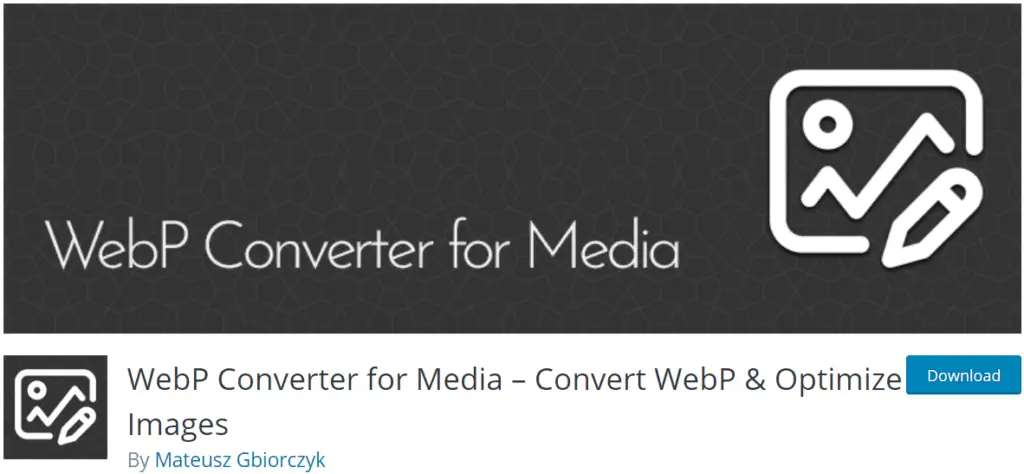
WebP converter for media is a free Image Optimization plugin with all the pro features. This image format is used to increase the speed of your website. This format replaces the existing JPG, PNG, and Other image formats. You can save up to 50% on website load.
90% of users use web browsers that support this format. This allows them to save more than half of their data. Converting your website’s images to this format is very useful for users and SEO.
Settings:
The default settings of the WebP Converter for Media Plugin are the best. Though if you want to change the settings please be careful while changing it.
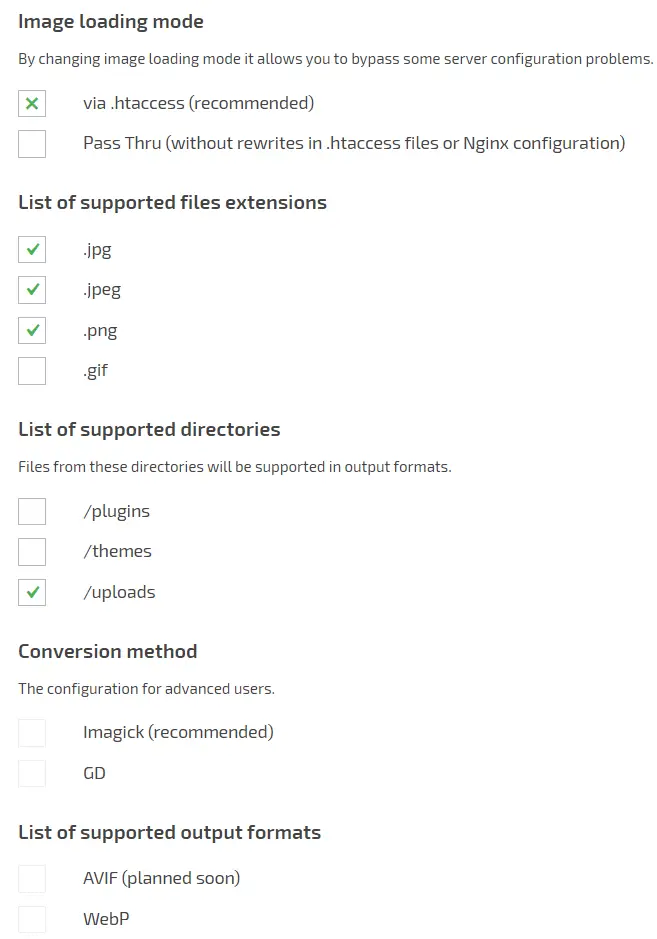
Image Loading Mode:
Don’t change the image loading mode it allows bypassing of some server configuration problems. Keep the default setting mode as it was.
List of supported files extensions:
The list of supported files such as JPG, JPEG, PNG, and GIF. In the default setting, all are selected except GIF. You can also select gif format if you want to convert to WebP format. This Conversion may disturb gif animation. So please be careful.
List of supported directories:
The supported directories are Plugins, Themes, and Uploads. The default selection is “Uploads” (media) to serve WebP. You can also enable supporting formats for Plugins, and Themes.
Conversion method:
Enabling Imagic or GD Configuration is not recommended, but you recommend enabling Imagic configuration only if you are an advanced user.
List of supported output formats:
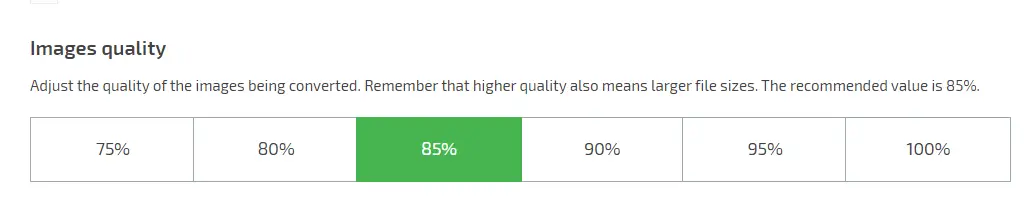
Image Quality:
Adjust the percentage of the quality of the image to convert. The recommended value is 85%.
Extra features:
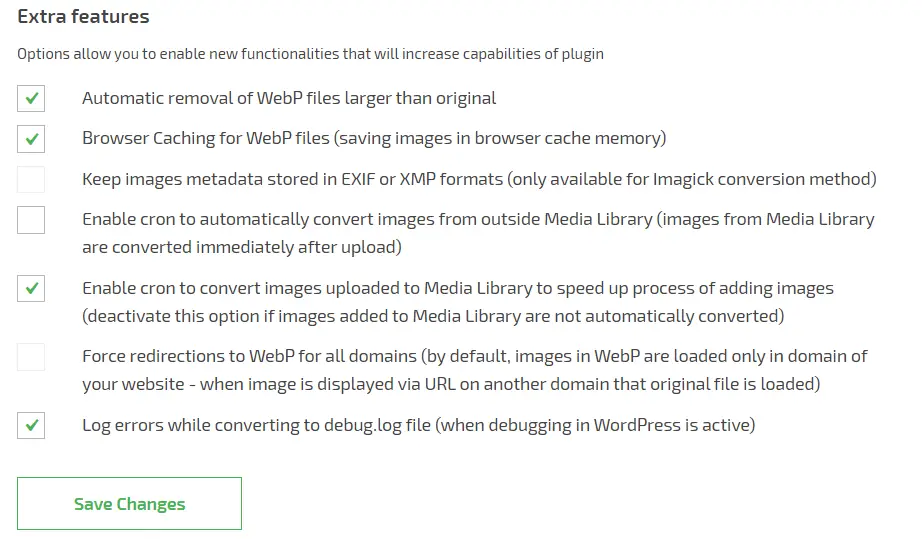
You can add the new functionality to increase or decrease the capability of the plugin by enabling or disabling the options.
The Best Paid Pro Plugin:
Smush Pro (Lazy Load Images, CDN, Optimize & Compress Images) is one of the Best WordPress Plugins if you afford to pay.
What is the Free Pro Image Optimizer Plugin for WP?
reSmush.it and WebP Converter for Media are the best image optimizer plugins. These pro plugins are available for free. Even if there are other best plugins on the market, you have to spend some money on them. But there is no doubt that these plugins are easier than them and do image optimization on par with them.
What are the benefits of using “reSmush.it”?
It is the WordPress Image Optimization plugin that will reduce your image size by up to 50% without changing the quality of the image by default settings. This means that the load on the server is reduced. Not only this, but it can also reduce the huge server load by reducing more than 50% of the image size by changing the default value settings.
Why do I need image optimization plugins for my WordPress site?
Image optimization plugins enhance website speed, reduce bandwidth usage, and improve SEO by ensuring your images load quickly.
Which are some of the best WordPress image optimization plugins?
Popular options include “Smush,” “ShortPixel,” “Imagify,” and “EWWW Image Optimizer.”
How do I install an image optimization plugin on my WordPress site?
To install an image optimization plugin, go to your WordPress dashboard, navigate to “Plugins,” click “Add New,” search for your chosen plugin, and click “Install” followed by “Activate.”