Selection Pane is one of the great ways to select, show, hide, rename, and change the order of the objects in a Word document, Excel worksheet, or PowerPoint presentation. This will help you speed up the object-related work on your document.
Table of Contents
Launching the Selection Pane in MS-Word
We can launch the Selection Pane in two ways: 1. Launch the pane either by Inserting objects such as images or by directly going to the Layout tab as follows:
Go to the Insert tab
Then Insert the objects as much as you want using the commands in the Illustrations group. For example, Picture and Shapes.

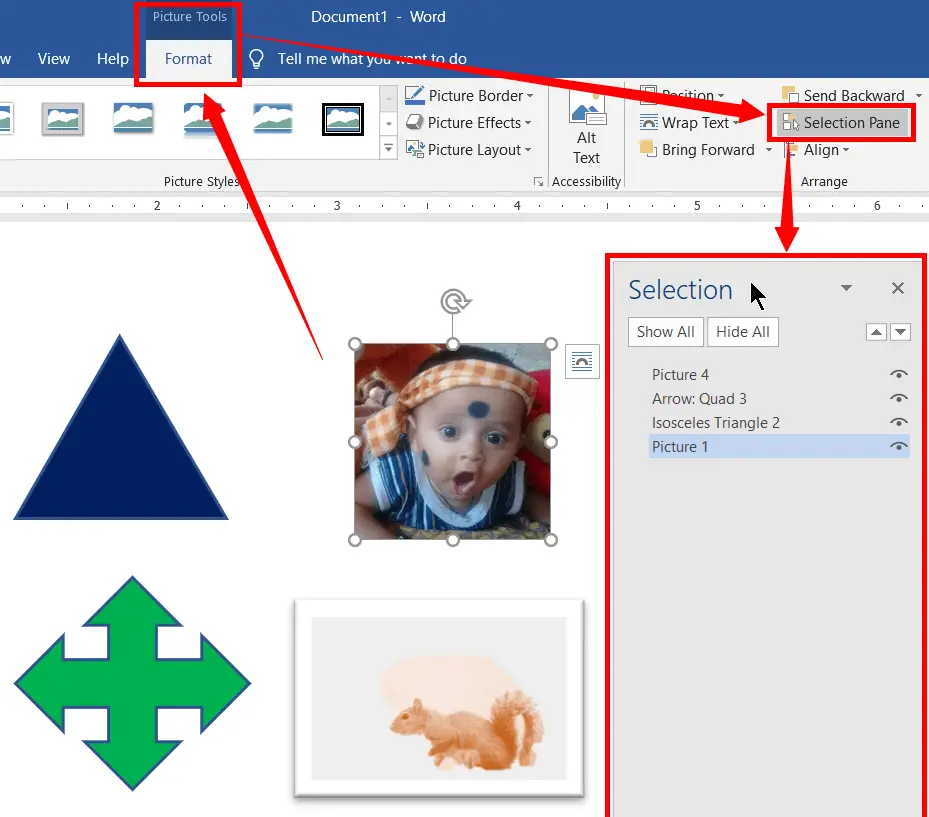
Then Immediately a Picture Tools Format tab opens if you insert the Pictures. Or,
Immediately a Drawing Tools Format tab opens if you insert the Shapes.
Make sure any object (Picture, Shape) selection, if not.
Then go to the Picture or Drawing Tools Format
Now, click on the Selection Pane in the Arrange group
Immediately a Selection Pane opens towards the right of the document page.
(Or)
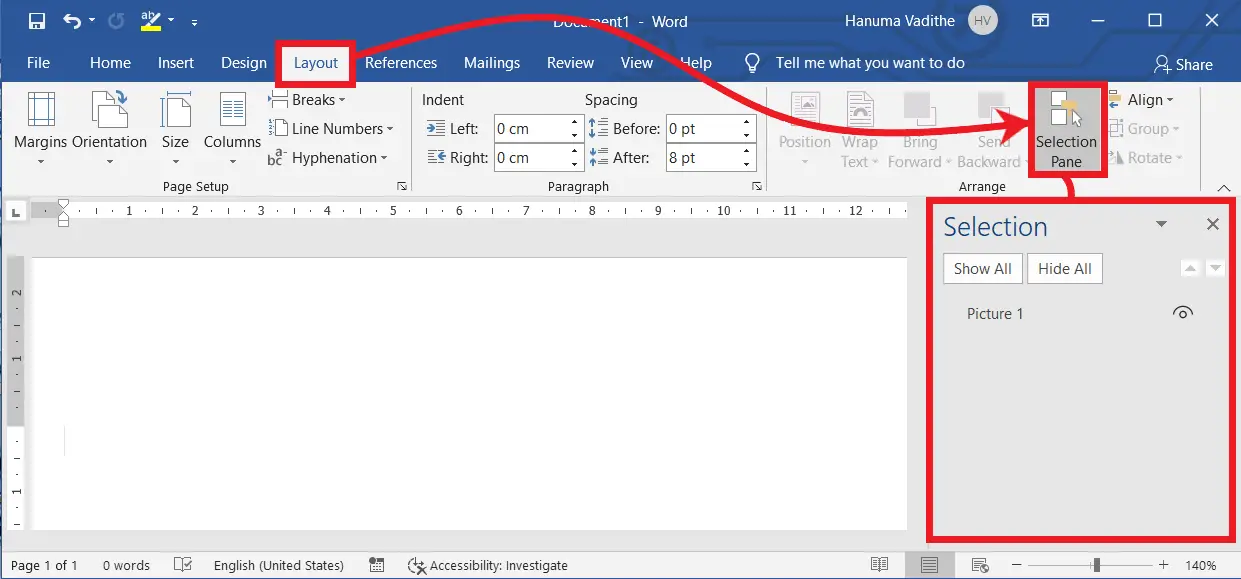
Go to the Layout tab
Then click on the Selection Pane in the Arrange group.
After inserting the objects in the document, the objects may not move in some older versions of the word. so, to move or position it, you should follow the steps given below:
Go to the Insert tab → click on the Picture in the Illustrations group → go to the picture location → select and insert it → now you are presented a new tab i.e. “Drawing Tools Format tab” if the picture is in selection → then click on the Position → and then, select any one of the positions given under the “With text wrapping“).
Show or Hide Objects using Selection Pane:
After inserting the Objects and opening the Selection Pane as explained above, follow the steps below to hide or show all the objects in the document.
Note: After inserting the objects in the document, the objects may not move if the MS Word application is an older version. To position/move it, follow the steps given below:
To position a picture in older versions of MS Word, Follow these steps: Go to the Insert tab and click on the Picture in the Illustrations group → Go to the picture location, select and insert it, and now you are presented with a new tab, i.e., the “Drawing Tools Format tab” if the picture is in selection. Click on the Position, and then select any one of the positions given under “With text wrapping.”
To hide all the objects, click on “Hide All” in the Selection Pane.
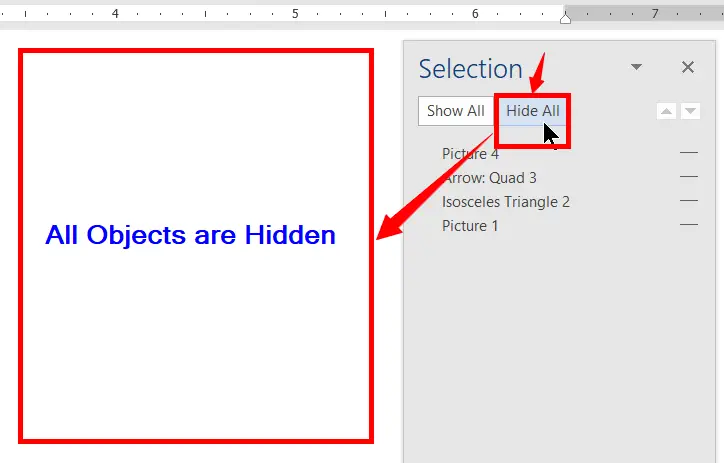
To show all the objects, click on “Show All”.

Show or Hide Individual Objects:
After inserting the Objects, Do the following.
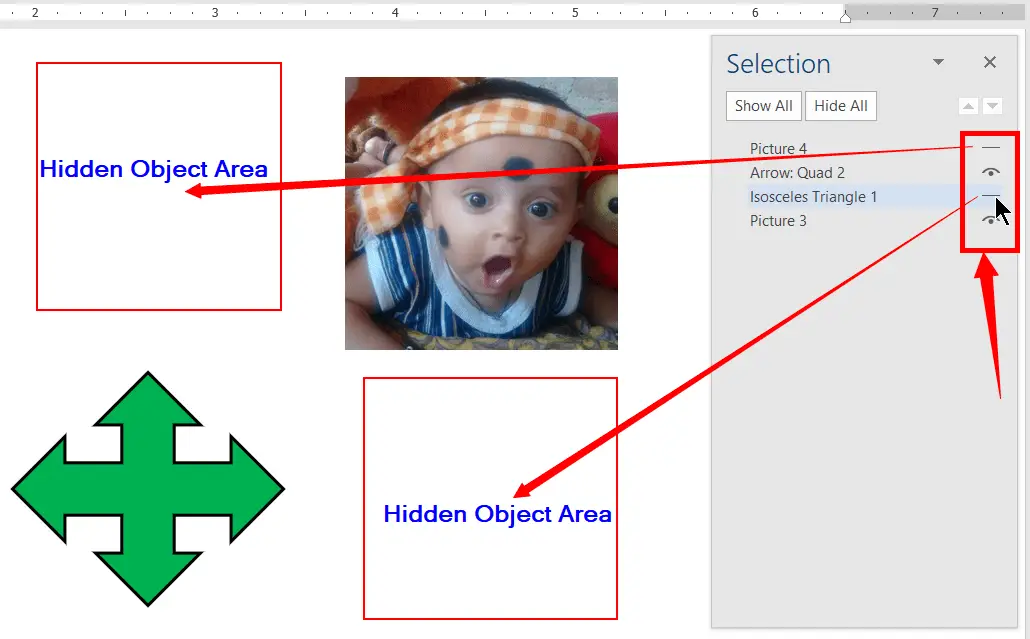
To Hide individual objects, click on the icon, which looks like an eye, that appears to the right of the object name.
To Show hidden objects, click on the icon that looks like an eye that appears to the right of the object name.
Bringing Objects Forward using the Selection Pane in MS-Word
After inserting the Objects as well as opening the Selection Pane, Do the following.
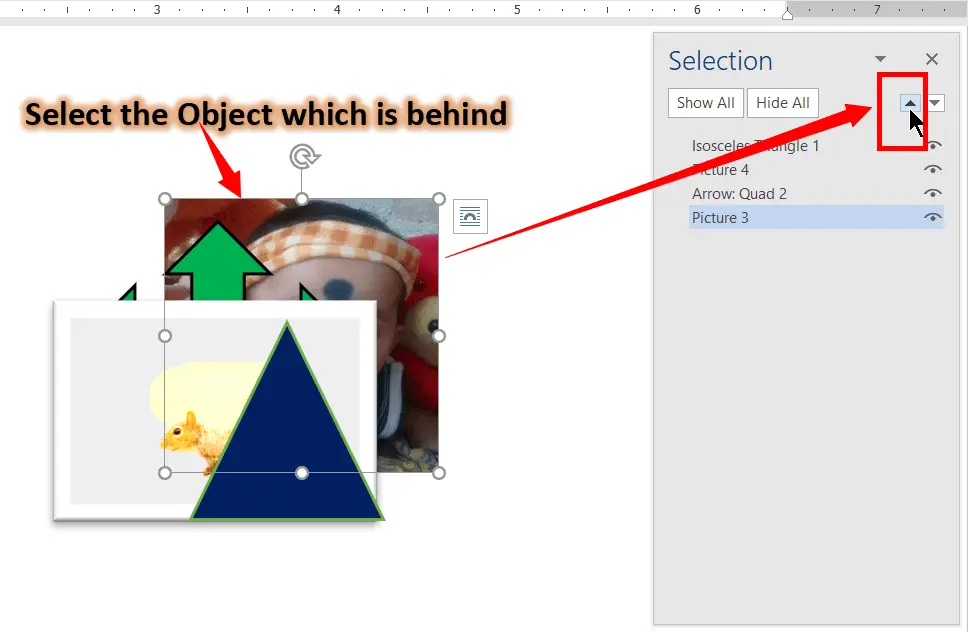
Keep some objects on top of other objects.
Then select any object which is behind another
And then click on the Up Arrow to bring the selected object forward.
Sending Objects Backward using the Selection Pane in MS-Word
After inserting the Objects as well as opening the Selection Pane, Do the following.
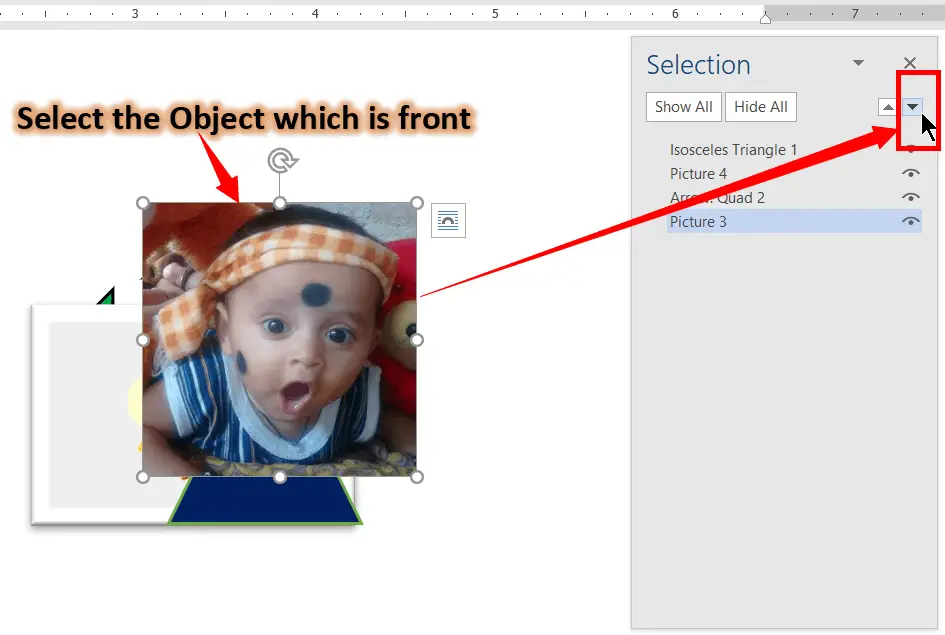
Keep some objects on top of other objects
Then select the object which is in front of another
Then click on the Down Arrow to send the selected object backward.
Selecting the Objects:
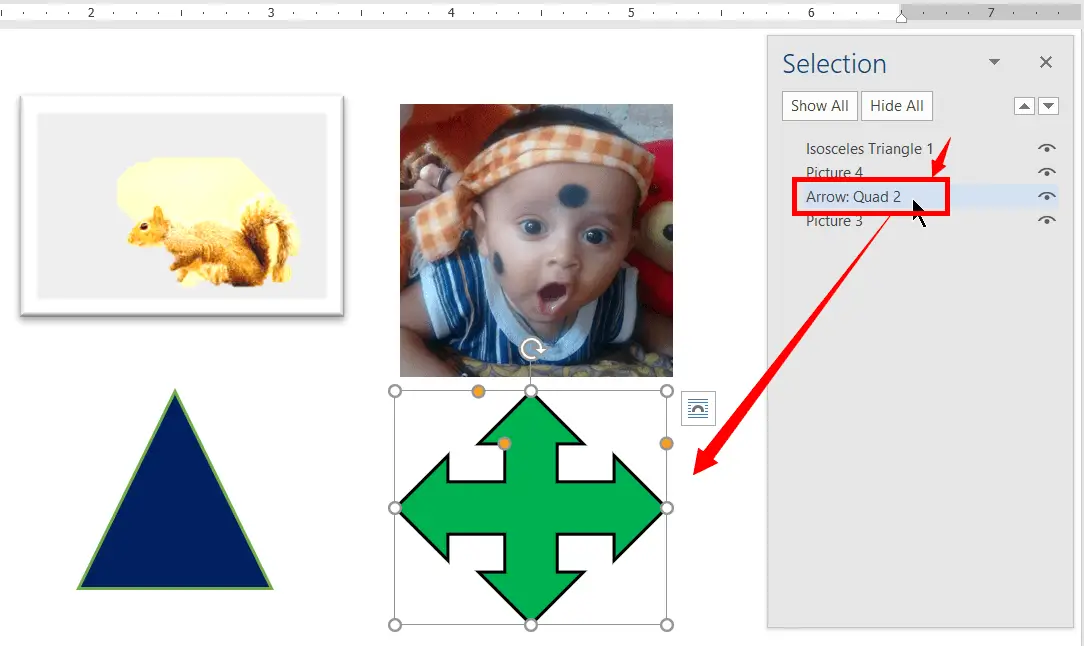
To select the objects you want, click on the object name in the Selection Pane, as shown in the picture below.
Renaming the Objects:
To rename the object you want, click the object name in the Selection Pane, then type the name you want.

Positioning a Selection Pane Dialogue Box:
After opening the Selection Pane, to position it anywhere in the document for your convenience, follow the steps below.
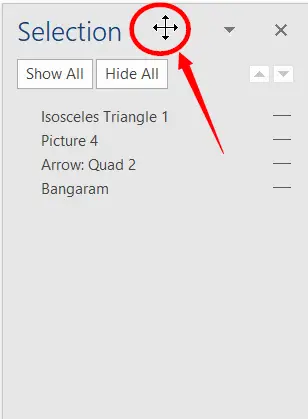
Move your mouse pointer over the top of the Selection Pane till the mouse pointer turned as the 4-Headed Arrows
Then click and hold down the left mouse button, and then drag around the document and leave it anywhere you want. Or,
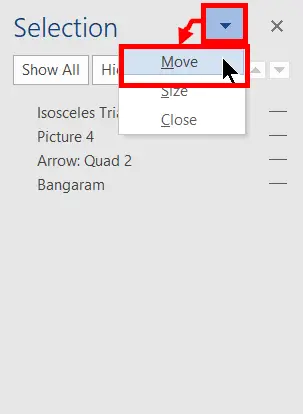
Click on the expand arrow of the Selection Pane, which appears at the top of it, and select “Move”.
Then move the selection pane around the document and click to leave it anywhere you want to position it.
Resizing a Selection Pane Dialogue Box:
Click on the expand arrow, which appears at the top of the Selection Pane, and then select “Size”.
After that, move the mouse left, right, up, or down without holding down any mouse button, then stop moving and click the mouse to release it to fit its size.
Closing the Selection Pane Dialogue Box:
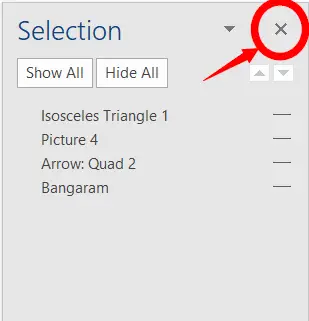
Click on the Cloze button to remove the selection pane, which appears at the top-right corner of the Selection Pane. Or,
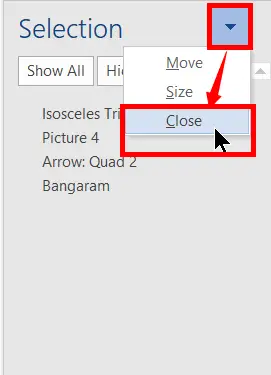
Click on the expand arrow, which appears at the top of it, and click “Close”.
Conclusion: The selection pane is one of the easiest selection options. Though there are several ways to select text and select objects such as pictures, shapes, and so on in Word, Excel, and PowerPoint, some of these are useful, but some of them may not.
Why do we use the selection pane in MS Word?
It is used to Select, Show, Hide, Rename and change the order of the objects in the word document, Excel worksheet, and PowerPoint.
What is a Selection Pane?
Selection Pane is an object such as shapes and images selection tool.
How to rename the objects using Selection Pane?
To rename the object you want, click the object name in the Selection Pane, then type the name you want.
What is the Selection Pane in MS Word?
The Selection Pane in MS Word is a tool that displays a list of all the objects in the document, allowing easy selection, organization, and manipulation of various elements such as images, shapes, and text boxes.
What purpose does the Selection Pane serve in MS Excel?
The Selection Pane in MS Excel assists users in managing and controlling various objects, including charts, shapes, and images, within a worksheet, enhancing organization and visibility.