The Remove Background tool is very useful to easily remove the unwanted background of the picture inserted in your Word document.
There is no need to use Photoshop or other photo editing software for the basic type of editing. To learn how to remove the background of a picture, follow the step-by-step instructions below.
Table of Contents
Steps to Remove the Background of a Picture:
Firstly, Insert the picture that you want to remove from the background.
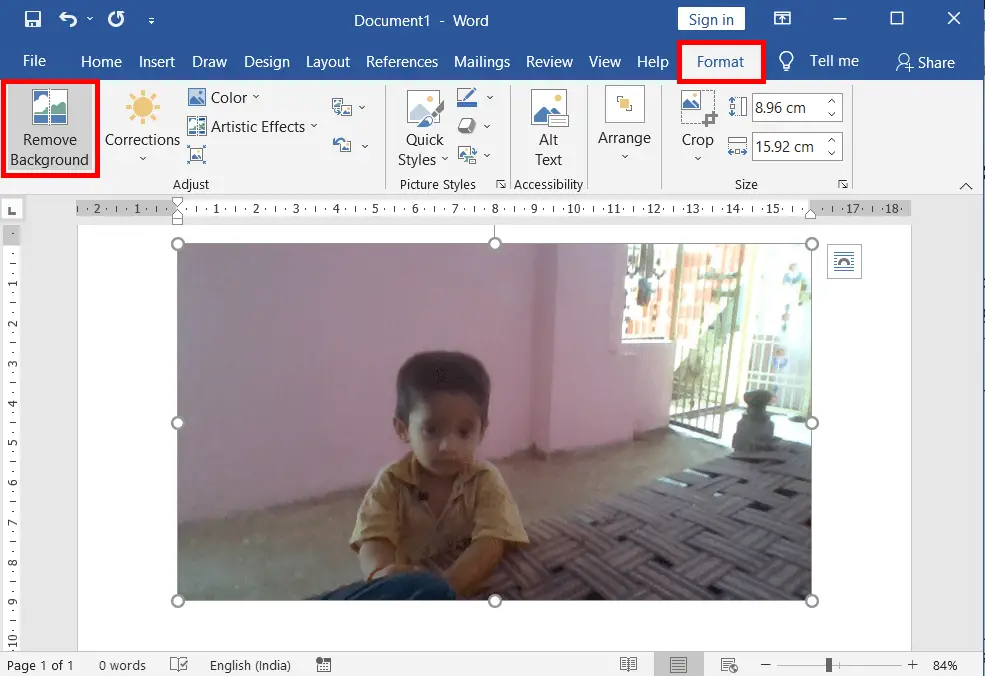
After inserting the picture, a Picture Tools Format tab automatically opens.
Then click on the Remove Background in the Adjust group; a “Background Removal” tab will open, and some parts of the background will also be removed (Make sure the picture selection).

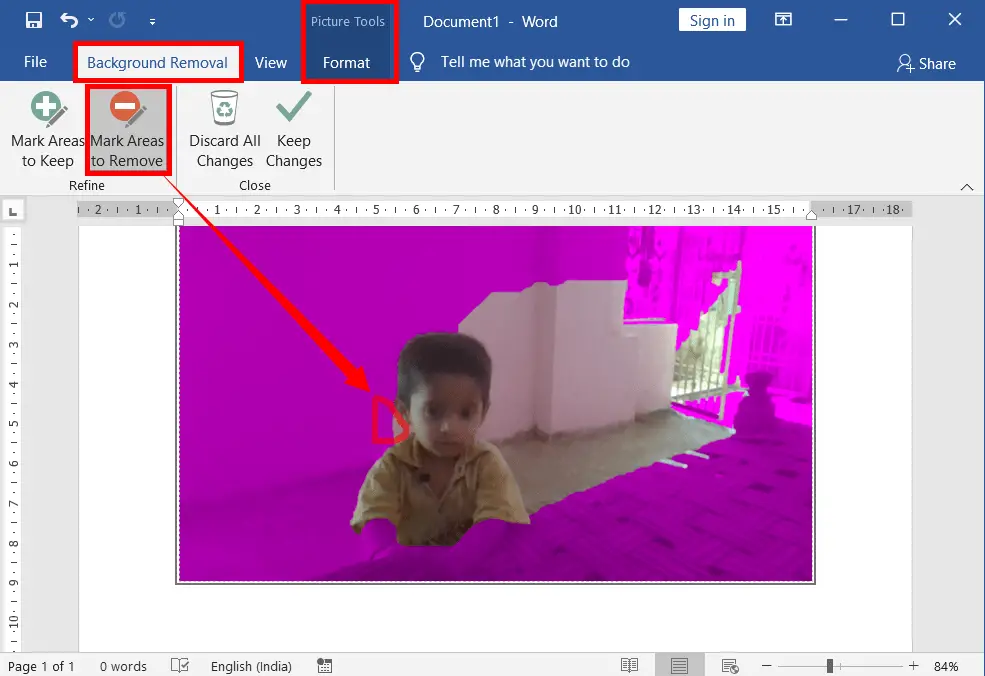
To keep any background area of a picture, click “Mark Areas to Keep” on the “Background Removal” tab, in the “Refine” group. Then draw a line around the desired area of the background to keep it.

To remove any unwanted background area from a picture, click “Mark Areas to Remove” on the “Background Removal” tab in the “Refine” group. Then draw a line around the unwanted area of the background to remove it.
To discard all the changes to keep and/or remove the background areas of a picture, click “Discard All Changes“.
To keep all the changes to keep and/or remove the background areas of a picture, click “Keep All Changes“.
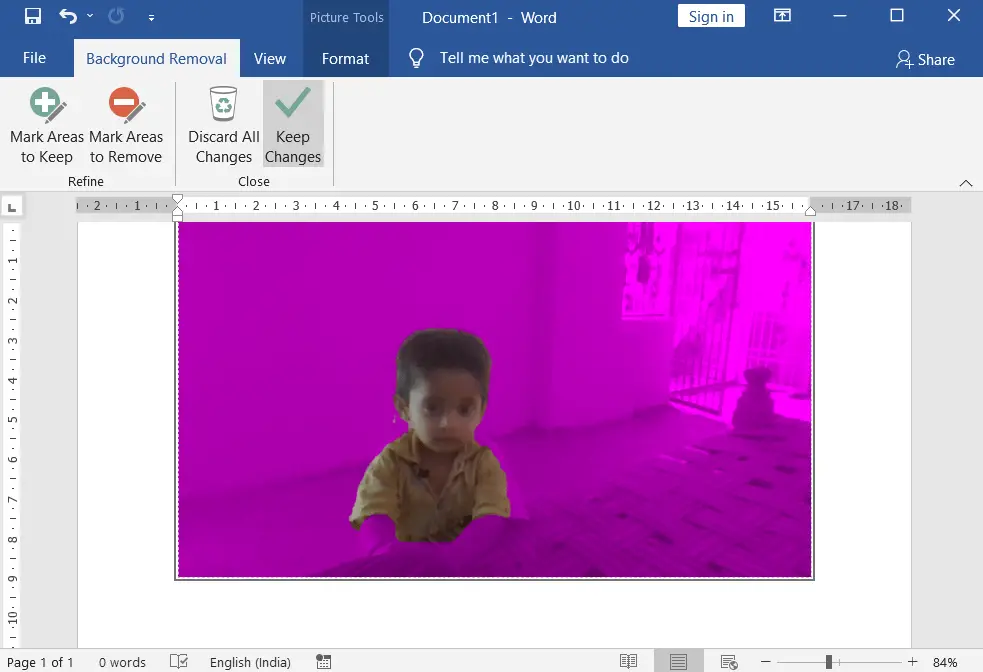
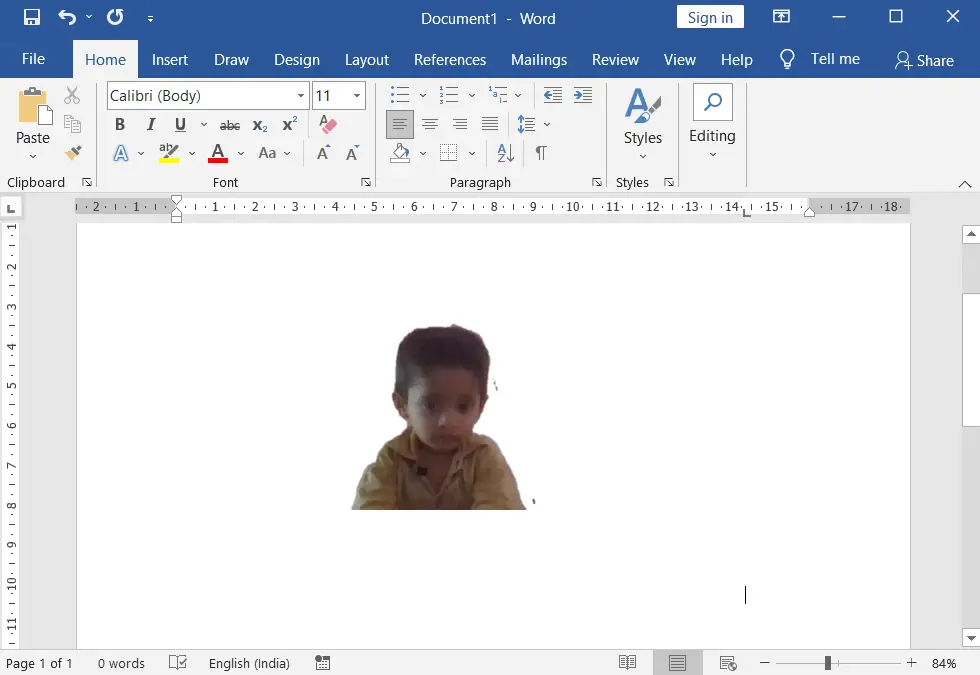
After placing the changes in the picture as shown in the screenshot below,
What is the Remove Background of an Image in MS Word?
The Remove Background tool is very useful to easily remove the unwanted background of the picture inserted in your document without the need for Photoshop or other photo editor software.
What if the “Remove Background” option is grayed out?
If it’s grayed out, the image may be in a non-editable format. Convert it to a compatible format like jpeg, png, or bmp, and then try again.
Can I add a different background to the picture?
Yes, after removing the background, insert a shape or image behind the edited picture to create a new background.
What versions of Microsoft Word support background removal?
Background removal is available in Microsoft Word 2010 and later versions.
Does background removal work for all types of images?
It works best for images with a clear contrast between the subject and background, such as portraits or simple graphics.