The fact that Word documents come with all document-related heading styles pre-built is a great feature.
One essential feature is the ability to create and apply heading styles, which not only enhance the visual organization of your content but also make it easier for readers to navigate through your document.
These can be customized to meet your needs.
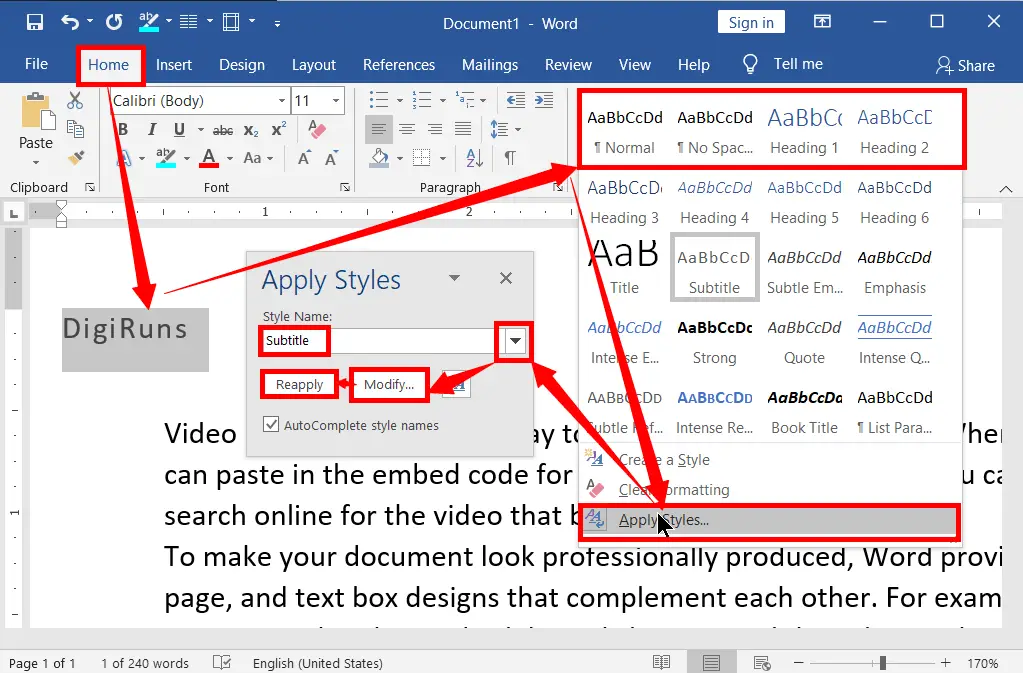
Not only you can use built-in styles such as headings, captions, subtitles, annotations, indentation, etc., but you can also quickly clear heading styles if you don’t want.
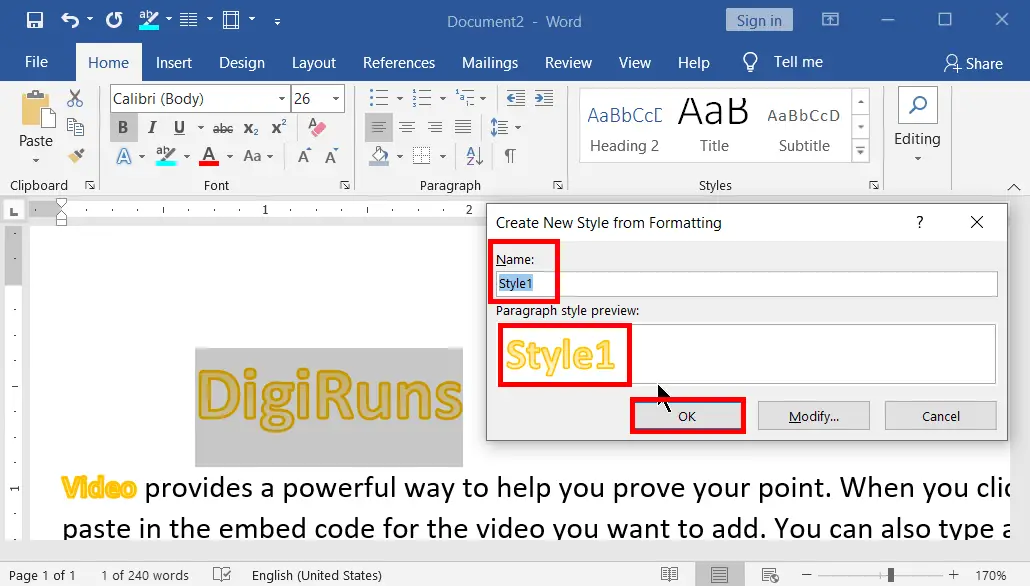
If existing (built-in) styles do not fit your content need, you can create the new styles you want to apply.
Table of Contents

Understanding Heading Styles
Heading styles in Word are preformatted that enable you to assign different levels of importance to your headings.
These styles include Heading 1, Heading 2, Heading 3, and so on, each representing a different level of hierarchy.
For example, Heading 1 is typically used for main sections, while Heading 2 is used for subheadings within those sections.
Benefits of Using Heading Styles
When creating and formatting your documents, using heading styles offers the following advantages:
- Enhanced Document Structure: Heading styles allow you to create a understandable, clear and organized structure for the content in your document, making it easier for readers to follow.
- Easy Navigation: One of the useful benefits by creating heading styles is quickly navigation through document using the navigation pane or generate a table of contents that links to each section.
- Consistency: Pre-built heading styles ensure consistent formatting throughout your document, giving it a professional look.
- Efficiency: When you need to make changes to the formatting of headings, such as adjusting font size or style, color, modifyin heading style, and all headings with that style will update automatically.
Creating and Applying Heading Styles
Normal Style:
It clears all the selected content formatting, such as headings, titles, subtitles, and so on, that you have applied and resets it to the default font style.
No Spacing Styles:
With the no spacing style, all the spaces between the selected paragraphs will be removed automatically.
You could also use your word processor’s “find and replace” feature to quickly get rid of the extra spaces. Finally, you could use a text editor to manually delete the extra spaces.
Heading 1, 2, 3… Styles:
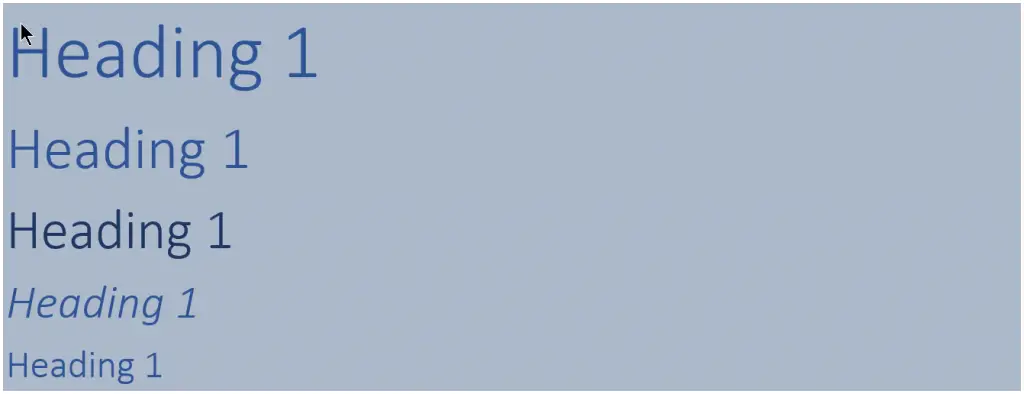
You can select the Heading style that fits the content best. Heading 1 is usually used for the main title of the document, Heading 2 for its subheadings, Heading 3 for its subsections, and so on.
Title Style:
When it comes to naming a document, composition, or book with a title style, it is best to choose a name that accurately and succinctly describes the contents. This can make it easier to find the document, book, or composition when you need it.
Subtitle Style:
A document, book, or piece of writing might benefit greatly from having an extra title in the form of a sub-title, which is a second title that provides a description of the work’s subject matter that is more accurate.
It can help to clarify your topic and make it easier for readers to find the information they need. Additionally, a sub-title can also help to make your work more memorable and impactful.
Consider how you can use a sub-title to make your work stand out from the crowd!
Subtitle Emphasis Style:
It uses an italicized font and a style to show your suggested new title for the document, book, or other piece of writing that best describes it.
Emphasis Style of Heading:
You may format the content of the document however you wish by applying a style that includes bold and italicized fonts.
Intense Emphasis Style:
You may make any part of the text in the document that you wish to stand out by applying a font that is bold and italicized, as well as a unique color and style, to it.
Strong Style:
The text in the document will be formatted using the bold font in the areas that you specify.
Quote Style:
In a Word processing program, the text of a document can be made to look like a quote by using the quotation style. This may require using quotation marks or special formatting for quoted material.
Also, you might have to change the line spacing, font size and type, and other formatting options to make sure the quote stands out from the rest of the text.
Intense Quote Style:
Intese quotation style, makes quotation with background colour formatting to the selected content of your document.
You can manually do this by selecting the text you want to change, then using the ‘Font’ group from the home tab by selecting a background colour and font style from the options available.
Subtle Reference Style:
Subtle reference will be made to one of the sources of information about the content. It can be a great way to enhance a reader’s understanding of a topic.
It can provide context, add depth to a conversation, or provide a unique perspective. It can also be a great way to keep the conversation interesting and engaging.
Intese Reference:
Intense Reference is one of the places to look for reliable information on the topic at hand in order to learn more about topics that are connected to it.
Book Title Style:
Apply it to the main name of the document or book on what it is.
List a Paragraph Style:
The listing paragraph is a paragraph containing different ideas that all connect to one main idea. It is perhaps easiest to think of this as the “First”, “Secondly”, or “Thirdly” paragraph.… The third is the compare and contrast paragraph in which you examine the relationship between two different ideas.
Customizing or Creating Your Own Headings in a Document:
Are the existing headings in Word doesn’t give you sense? Then format and create your own styles of the selected text such as Headings, Titles, Subtitles, Quotations, etc.
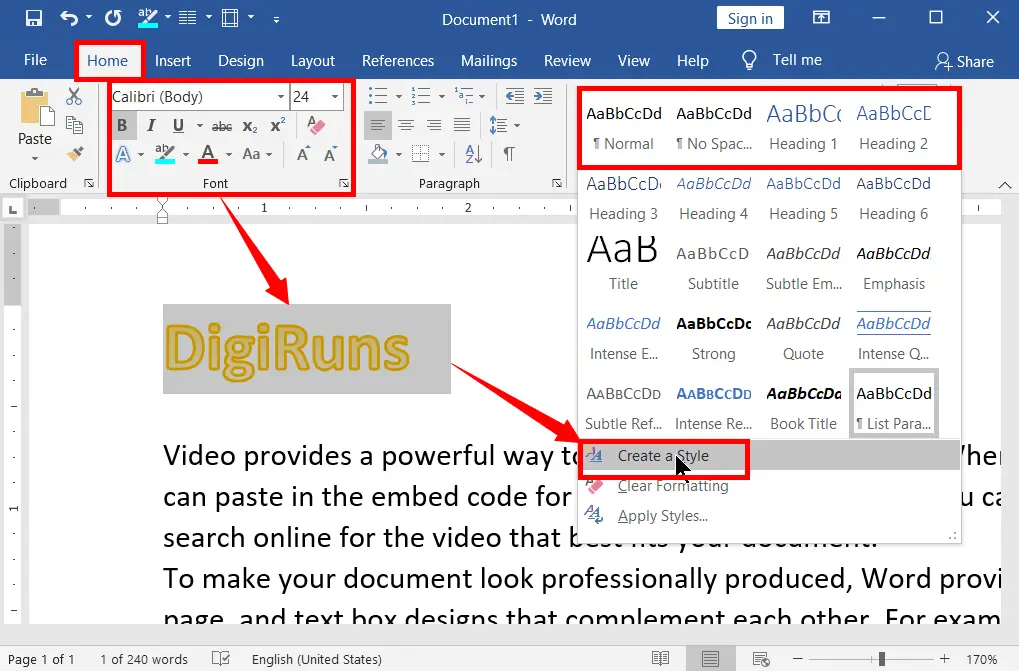
Steps in Creating Heading Styles in MS Word:

Clear Formatting (Ctrl+Spacebar):
It clears all the selected content formatting (such as heading, title, subtitle, and so on that you have applied) and resets it to the default font style.
Steps in Clearing Formatting:
Keyboard Shortcut for Applying Headings (Ctrl+Shift+S):
To apply headings in Word by modifying the existing headings, titles, subtitles, etc. press Ctrl+Shift+S. Or follow the steps below.
Steps in applying Heading Levels in MS Word:
Are Creating Headings in Microsoft Word Easy?
Yes, creating and applying heading styles to your content of the document by using the built-in styles, such as Headings, Titles, Subtitle, Quotations, Indention, etc. is very easy.
Can we change headings using built-in styles in Word?
Yes, we can change headings and subheadings in Word.
Are there title styles in Word?
Yes, there are built-in and customizable title styles in Word.
Can we apply side headings in Word?
Yes, we can create and apply side headings in Word.
How to change writing styles in Word?
To change writing styles in MS Word, use the font formatting commands, text effects and typography, or heading styles.