There are great ways to add space between the cells of a table by using the table options in a Microsoft Word document.
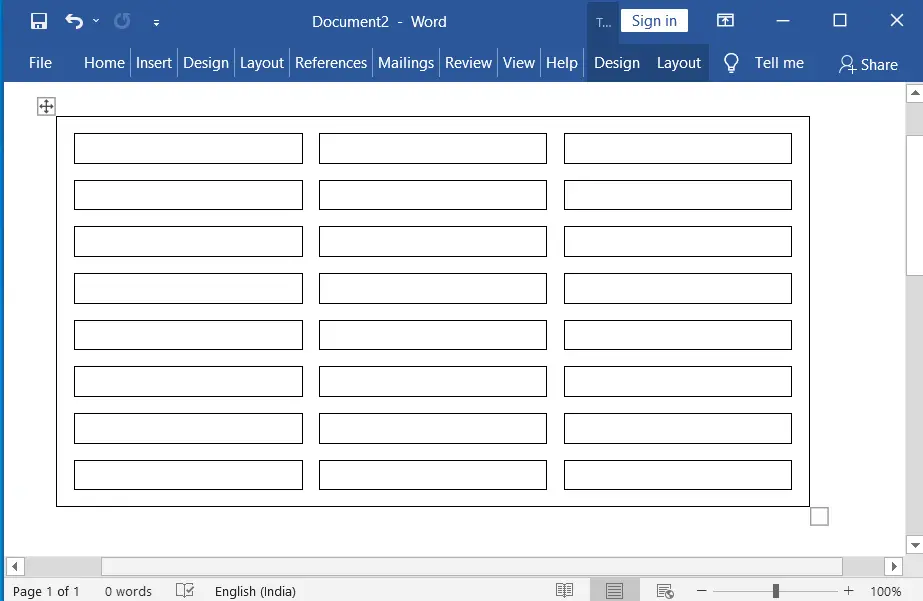
The space between the cells gives a clean look and shows you a clear margin area for the content of a table, as in the picture below.
Table of Contents
Adding space between the Cells of a Table
1. Add Space Between the Cells of a Table
On the Insert tab, in the Table group, insert the Table with the number of rows and columns you want.
When the table is inserted, a Design and Layout window will open.
Click on the margins in the Alignment groups on the Layout tab (a dialogue box will open immediately).
The next step is to check the box labeled “Allow spacing between cells” and then type the number of the measurement (in inches) that is provided in the box. The measurement must be between 0″ and 2.2″.
2. Add Space Between the Cells of a Table:
After inserting the table, do the following:
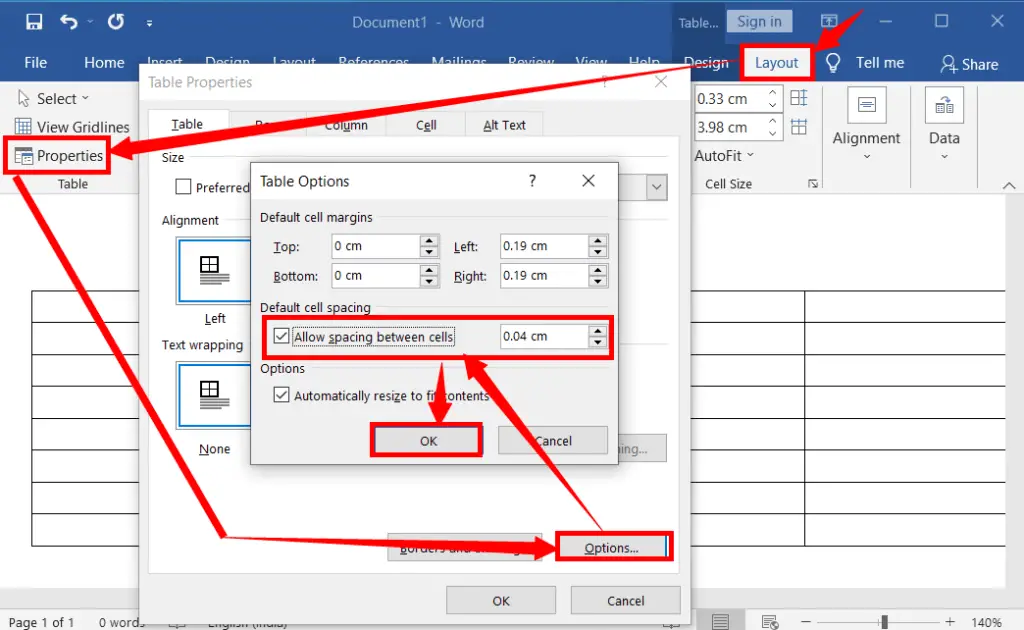
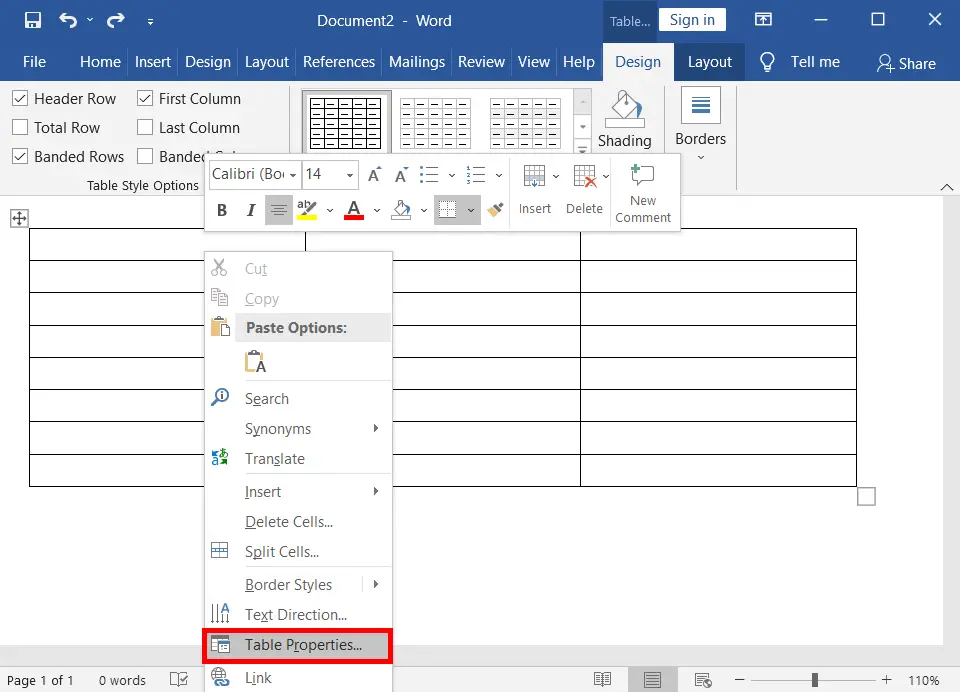
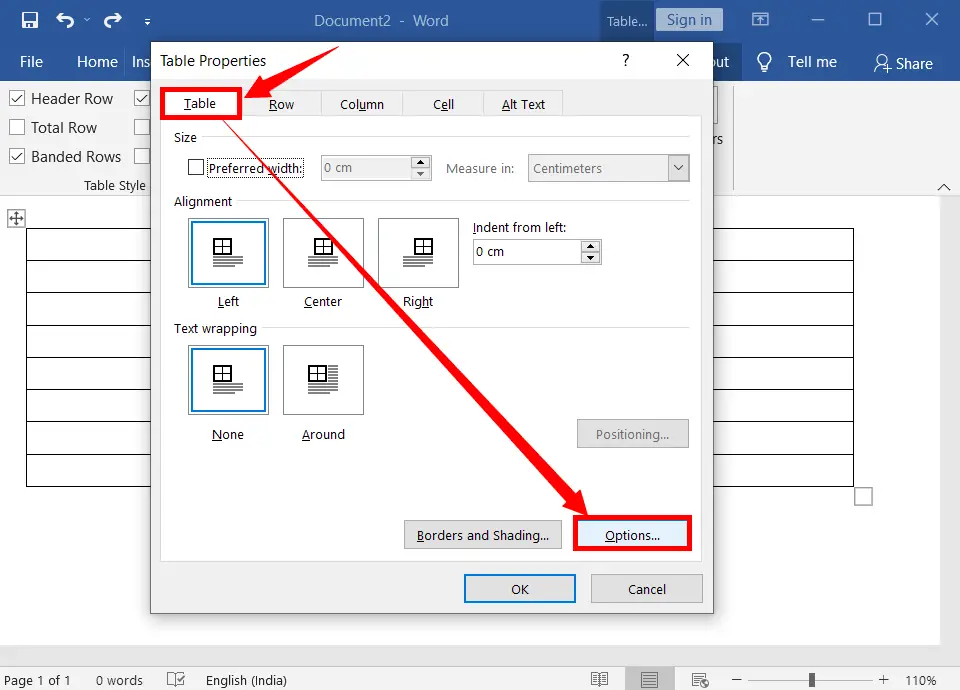
Right-click on the table.
Click on “Table Properties” to open its dialogue box as in the picture below
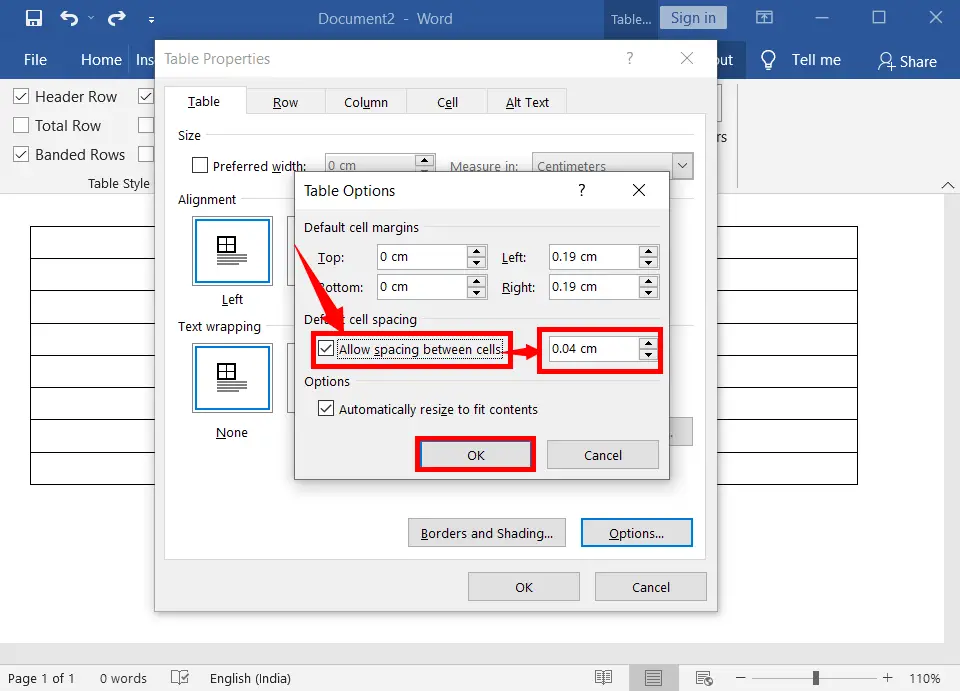
Click on the Options (Again to open another dialogue box).
Check mark “Allow space between the cells“, which is given under “Default cell spacing“.
You can increase the amount of space by using the arrows located in the measurement box, which can be found to the right of the text that reads “Allow space between the cells.”
Lastly, click OK.
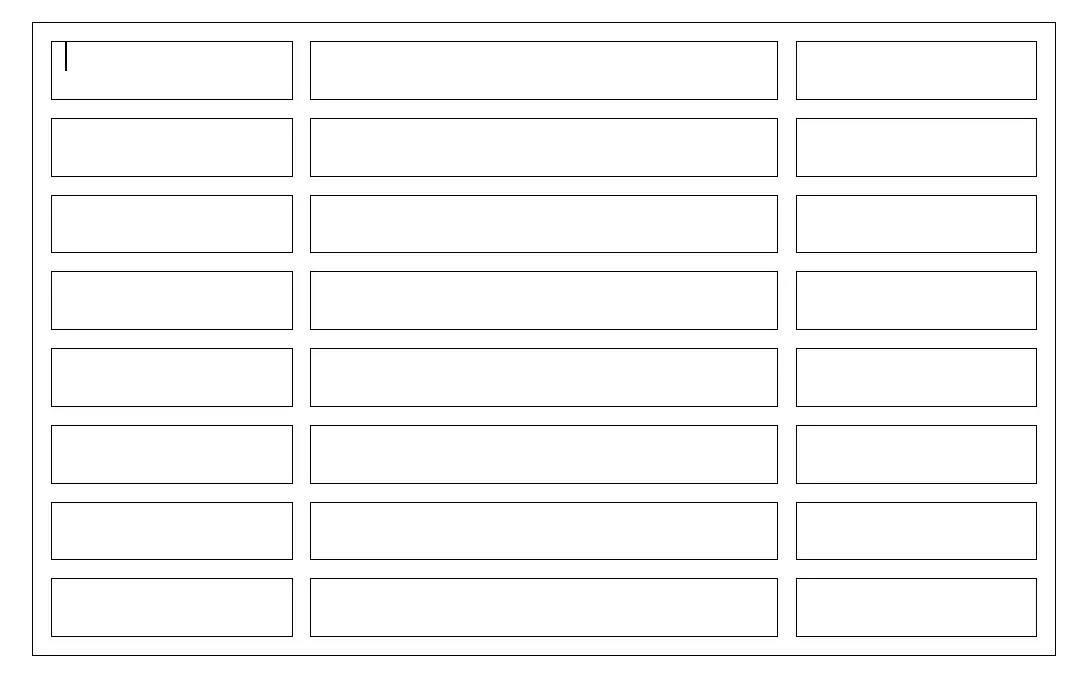
Finally, space between the cells of a table has been added as in the picture below.

What are the benefits of spacing between the cells in a table?
The space between the cells of a table gives a clean look and shows you a clear margin area for your content.
What is the allocated space between the cells of a table?
The allocated space between the cells of a table in MS Word is 0″ and 2.2″.
Is it possible to add space between the cells in a table?
Yes, it is possible to add space between the cell of a table. The required space must be between 0″ and 2.2″.
How can I add space between the cells of a table in MS Word?
To add space between table cells, select the table, right-click, choose “Table Properties,” go to the “Cell” tab, and adjust the “Cell Margins” options for the desired spacing.
What are the recommended settings for cell margin spacing?
The specific settings depend on your document’s layout, but a small margin, such as 0.05 inches, often works well for most documents.